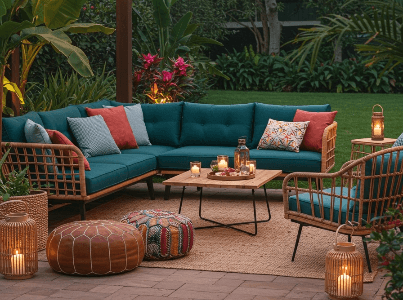
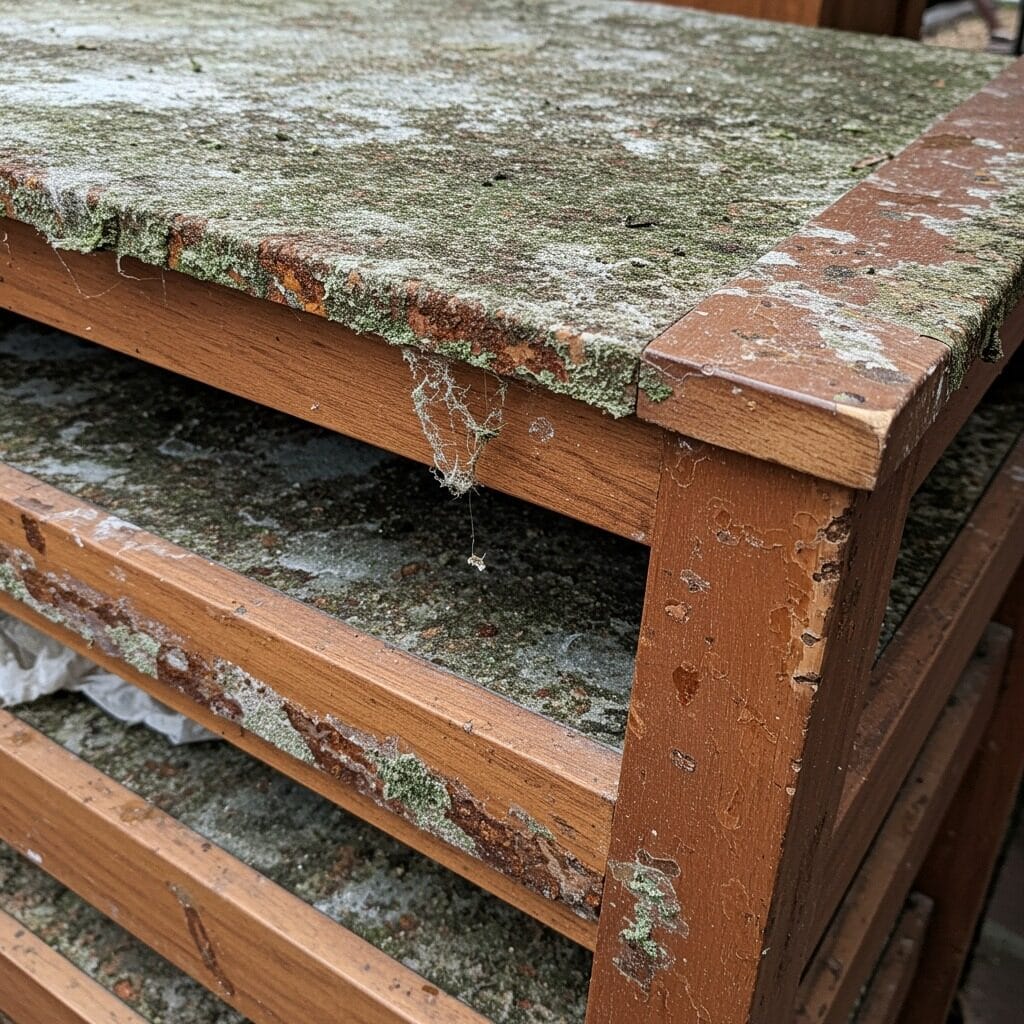
Winter’s approaching, and that beautiful outdoor seating arrangement you’ve enjoyed all summer needs some serious TLC. I’ve learned this lesson the hard way – nothing quite compares to discovering your favorite patio chairs warped beyond recognition after a harsh winter season.
The truth is, winterizing your outdoor patio furniture isn’t just about throwing a tarp over everything and hoping for the best. Different materials require different approaches, and the climate in your area plays a huge role in determining which protection methods will actually work. Whether you’re dealing with teak dining sets, aluminum loungers, or wicker conversation pieces, each piece deserves thoughtful preparation for the months ahead.
Most people underestimate how much damage winter weather can cause to outdoor furniture. Snow, ice, freezing temperatures, and moisture can crack, warp, rust, and fade even the sturdiest pieces. But with the right approach, you can keep your patio furniture looking fresh for years to come.
1. Deep Clean Before Storage
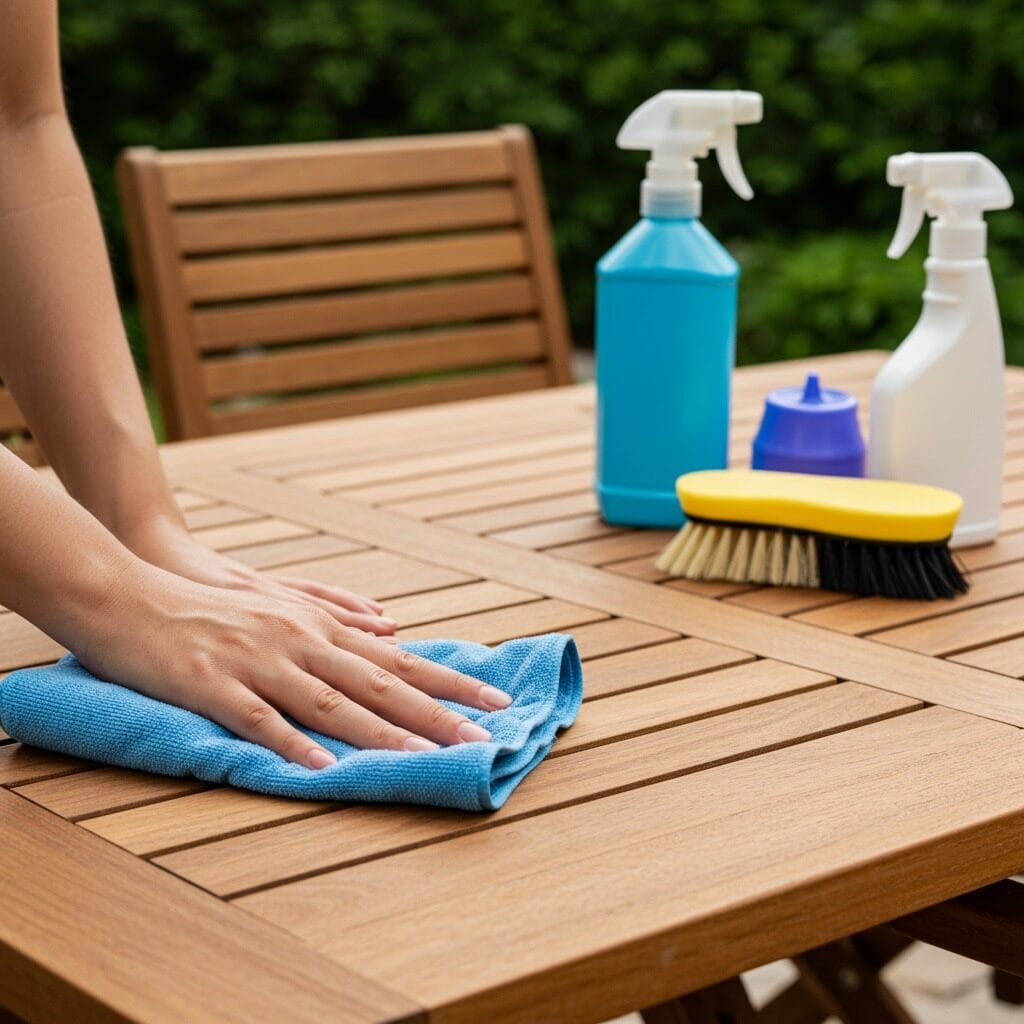
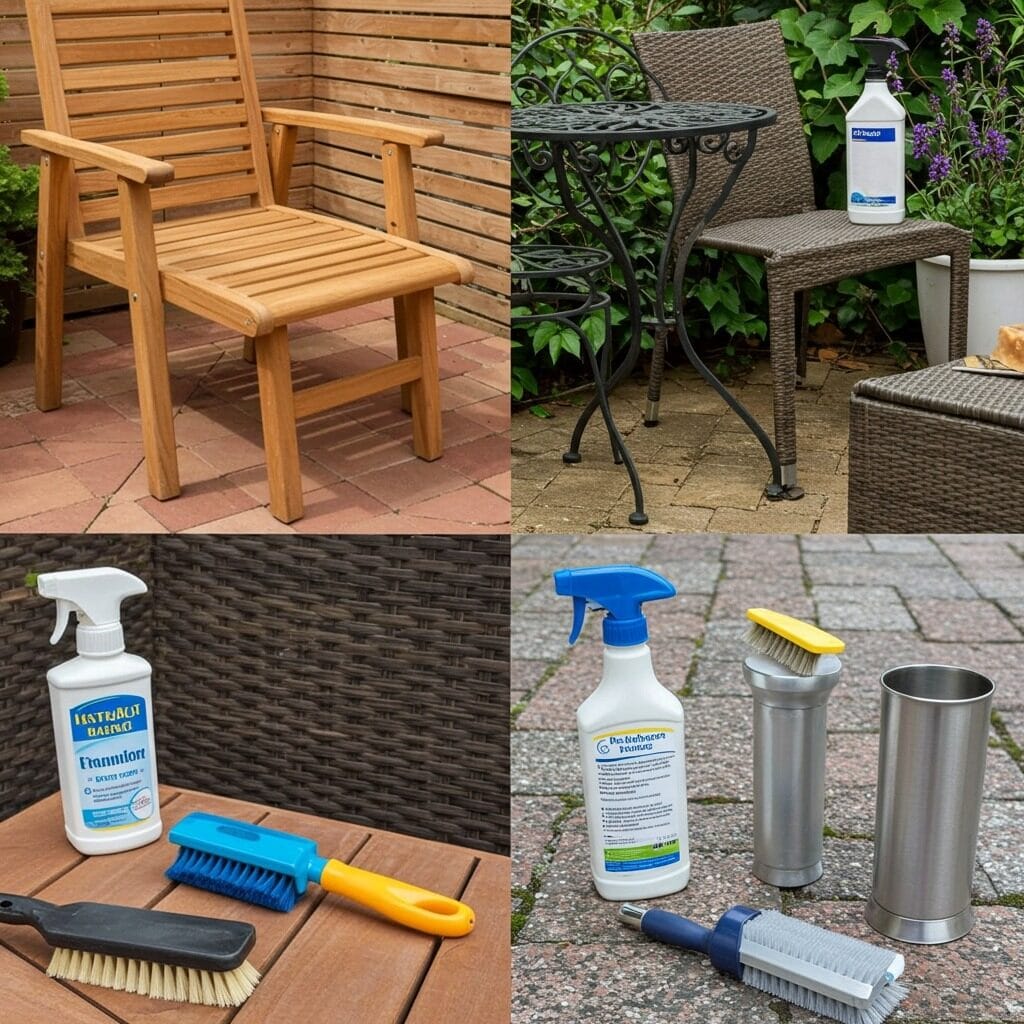
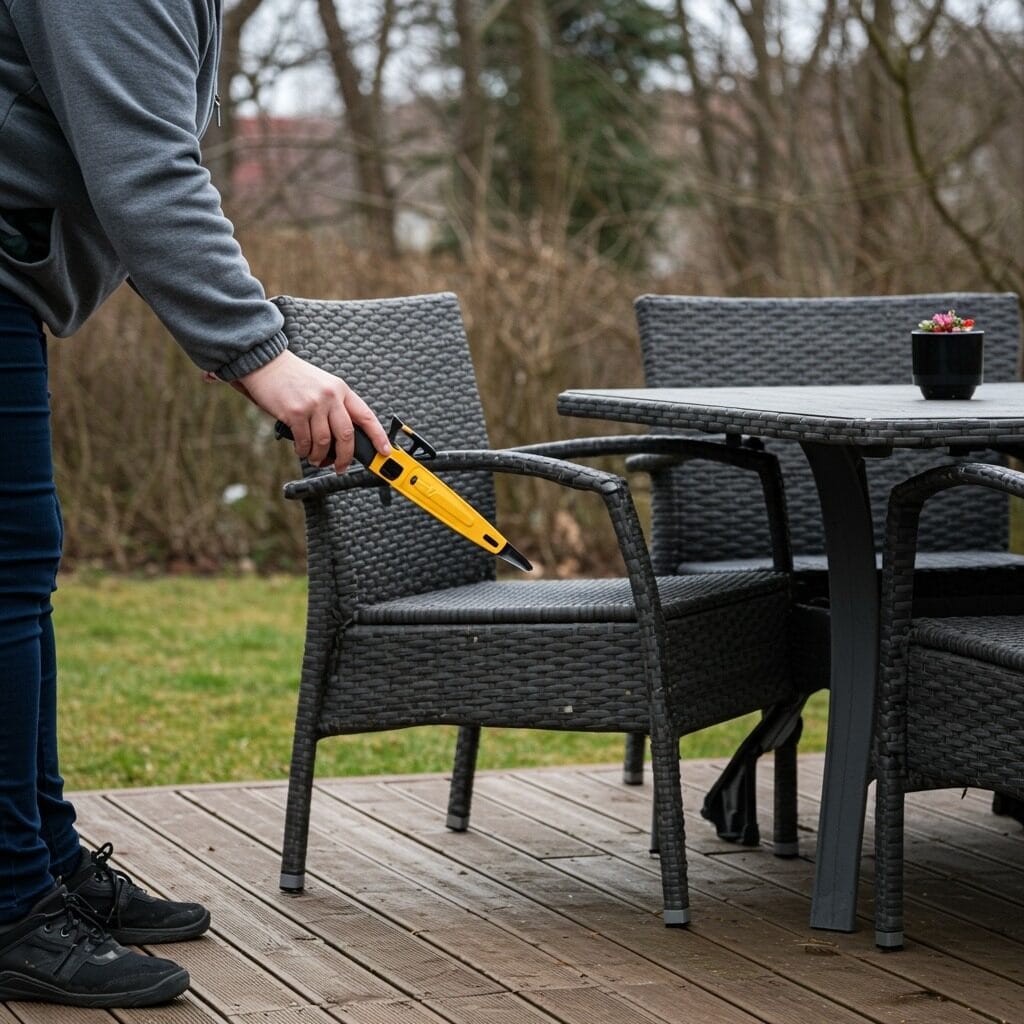
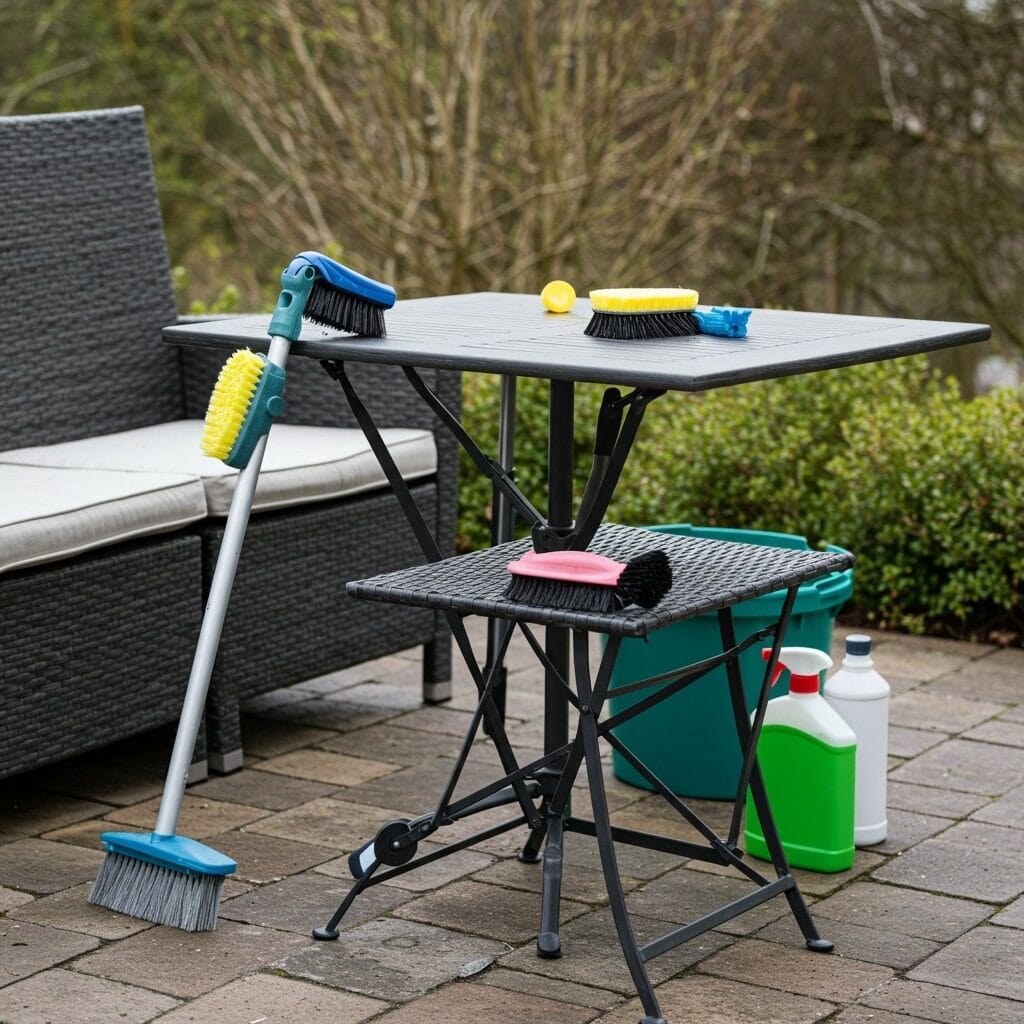
Before you even think about covers or storage, your furniture needs a thorough cleaning. This isn’t the time for a quick spray-down with the hose. Built-up dirt, food residue, and organic matter can cause permanent staining and provide breeding grounds for mold and mildew during storage.
Start with a gentle soap solution – I typically use warm water mixed with a few drops of dish soap. For stubborn stains on cushions, a mixture of white vinegar and water works wonders without damaging the fabric. Storage solutions for your outdoor space become much more effective when everything going into them is completely clean.
Pay special attention to crevices, joints, and any areas where water might collect. Metal furniture often has small drainage holes that can become clogged with debris. Clear these out to prevent water from freezing and expanding inside the frame. Don’t forget to flip cushions and clean both sides – you’d be surprised how much moisture can get trapped underneath.
Let everything dry completely before moving to the next step. This might mean waiting a full day in humid conditions. Trapped moisture is one of the biggest enemies of stored outdoor furniture, leading to rust, mold, and deterioration that could have been easily prevented.
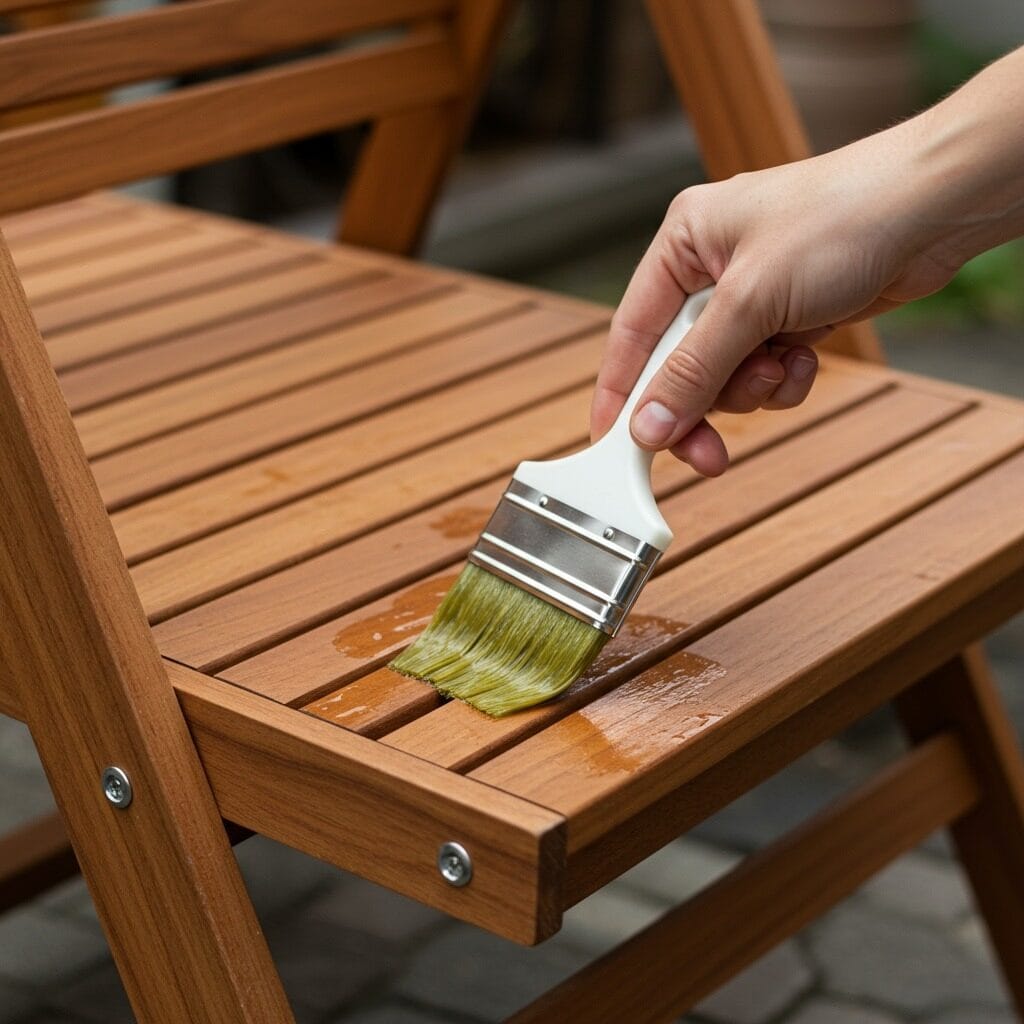
For wooden pieces, this is also the perfect time to assess whether they need any touch-up staining or sealing. Small scratches and worn areas are much easier to address now than after a winter of neglect.
2. Assess Your Storage Options
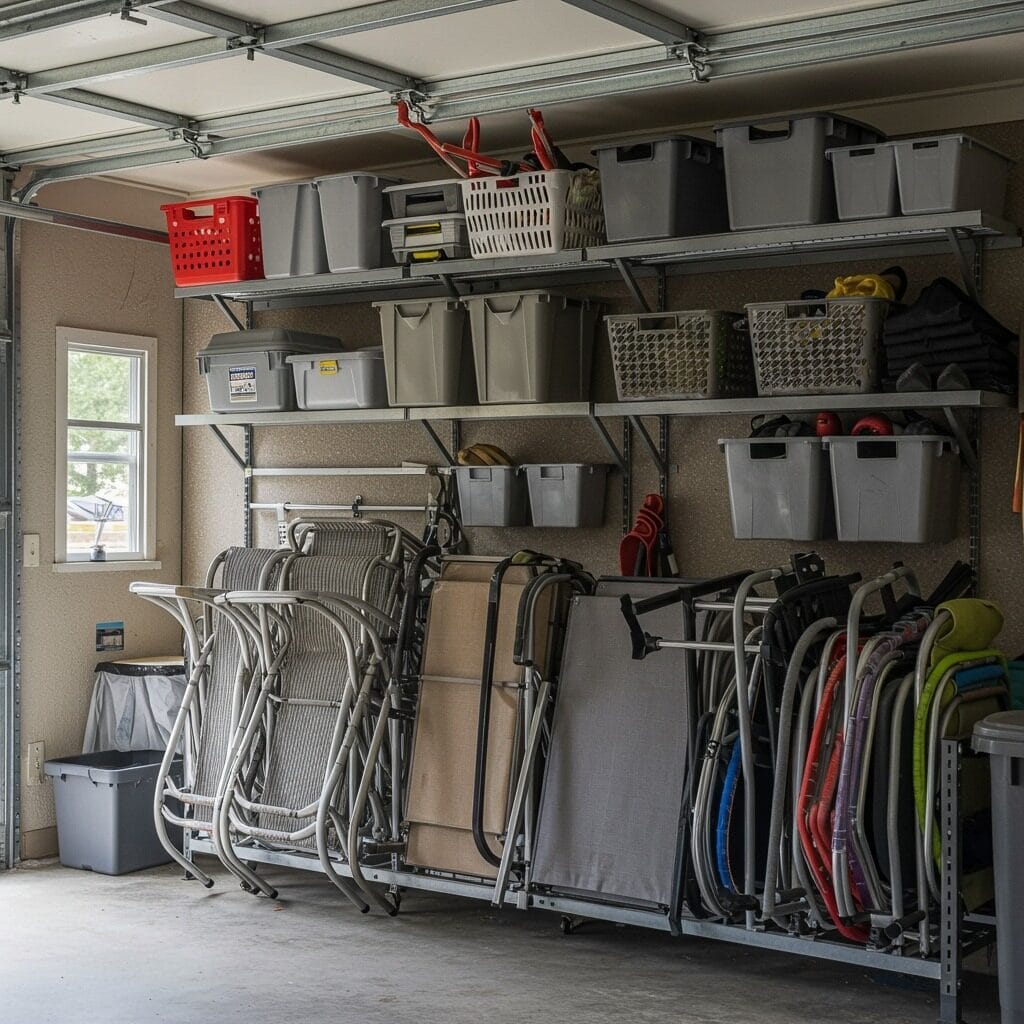
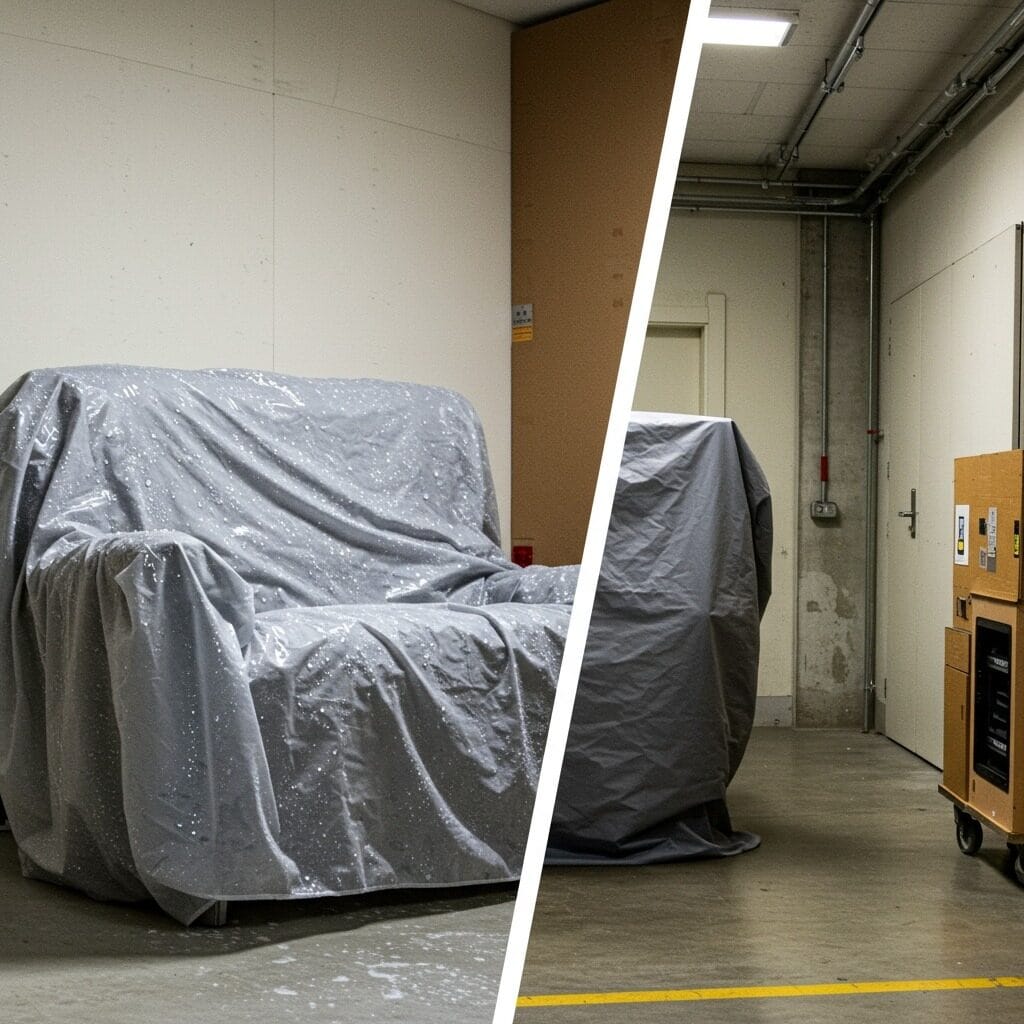
Not everyone has a heated garage or spacious shed, but that doesn’t mean your furniture is doomed to weather the storm outside. The key is matching your storage solution to your available space and the specific needs of each piece.
Ideally, you want a dry, ventilated space that stays above freezing. A garage, basement, or shed typically works well, but even an unheated space is better than leaving everything exposed. Small storage solutions can be surprisingly effective – you might be able to disassemble larger pieces or stack chairs to maximize your available space.
If indoor storage isn’t possible, consider creating a protected outdoor storage area. A simple three-sided shelter or even strategically placed tarps can provide significant protection from the worst weather. The goal is to keep direct rain, snow, and ice off your furniture while still allowing some air circulation.
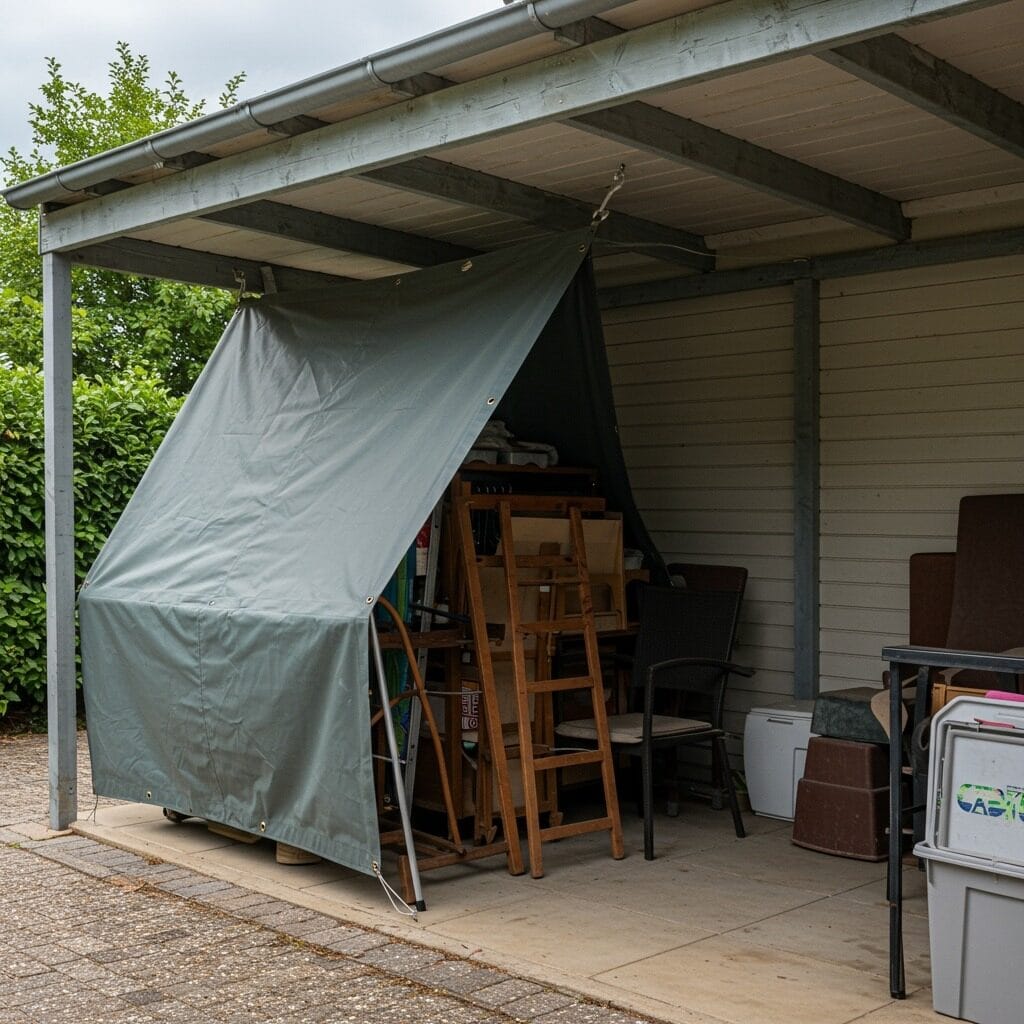
Some pieces are better candidates for outdoor winter storage than others. High-quality aluminum and certain synthetic materials can handle outdoor storage much better than wood or natural fibers. When making these decisions, consider the replacement cost of each piece versus the effort required to bring it inside.
For items that must stay outside, positioning matters enormously. Place furniture away from areas where snow might drift or where ice could form from roof runoff. Even a few feet can make a significant difference in how much weather your pieces actually endure.
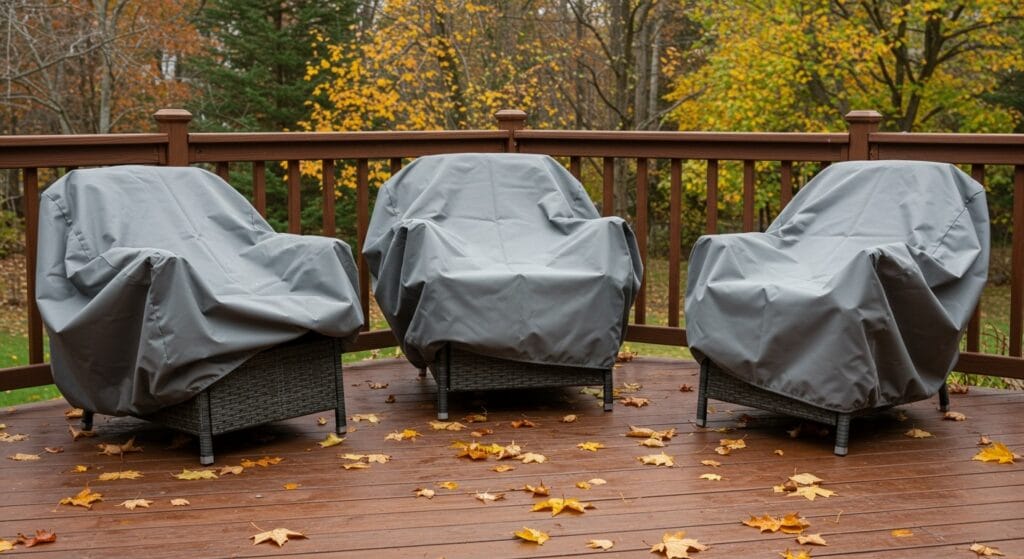
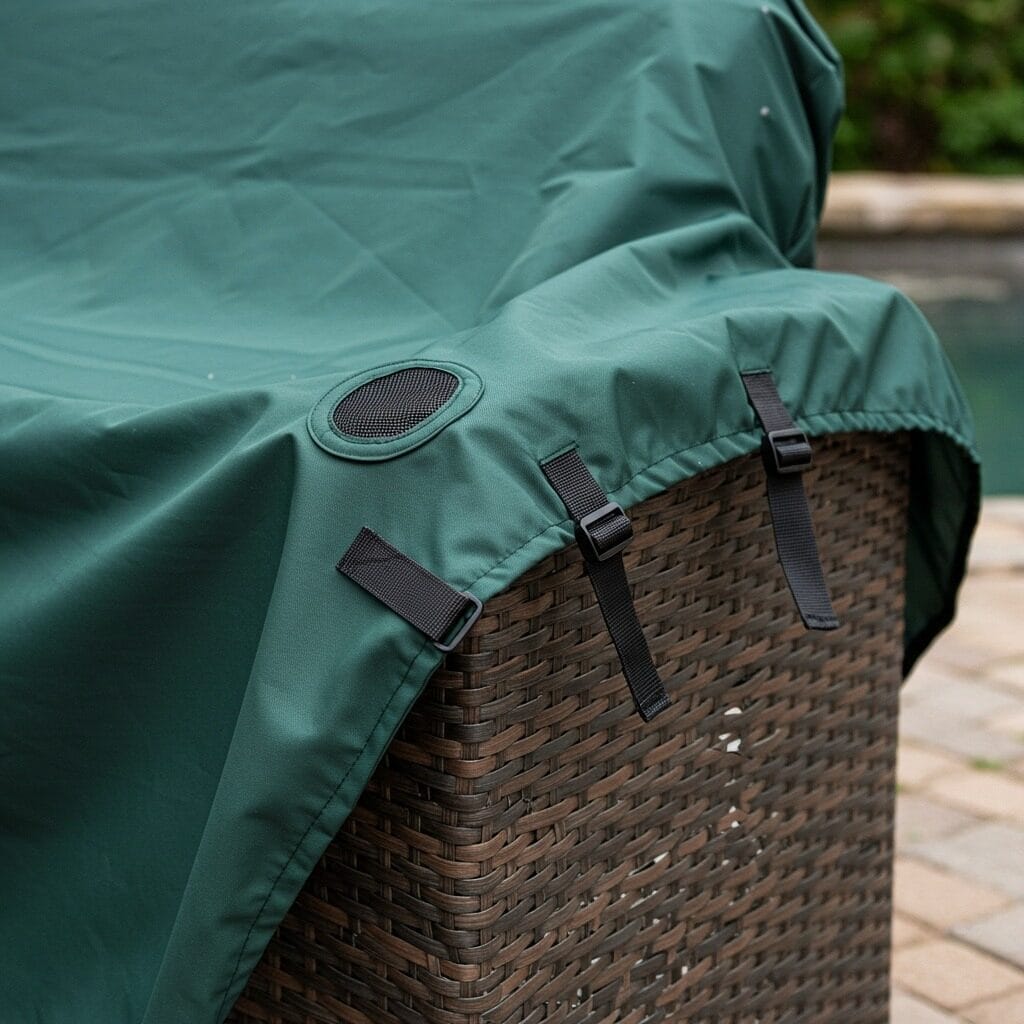
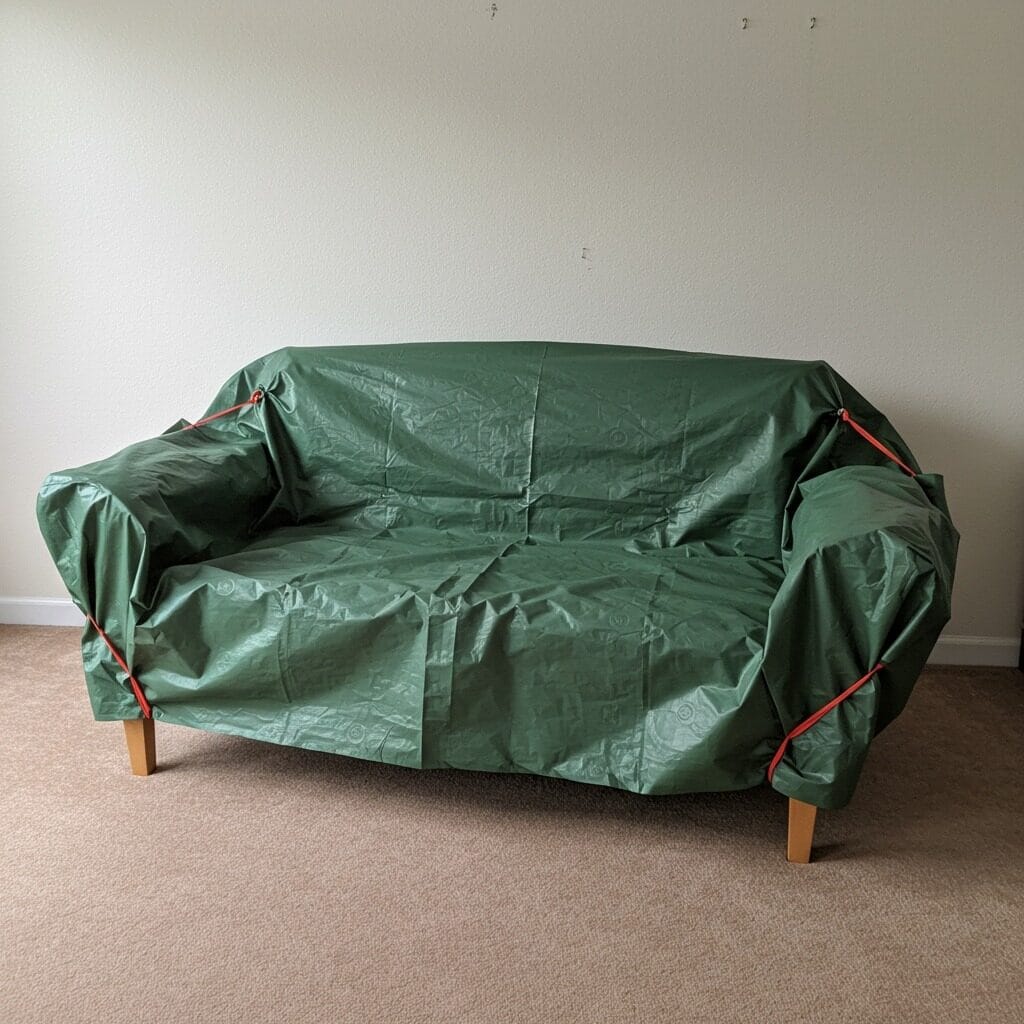
3. Choose the Right Covers and Protection
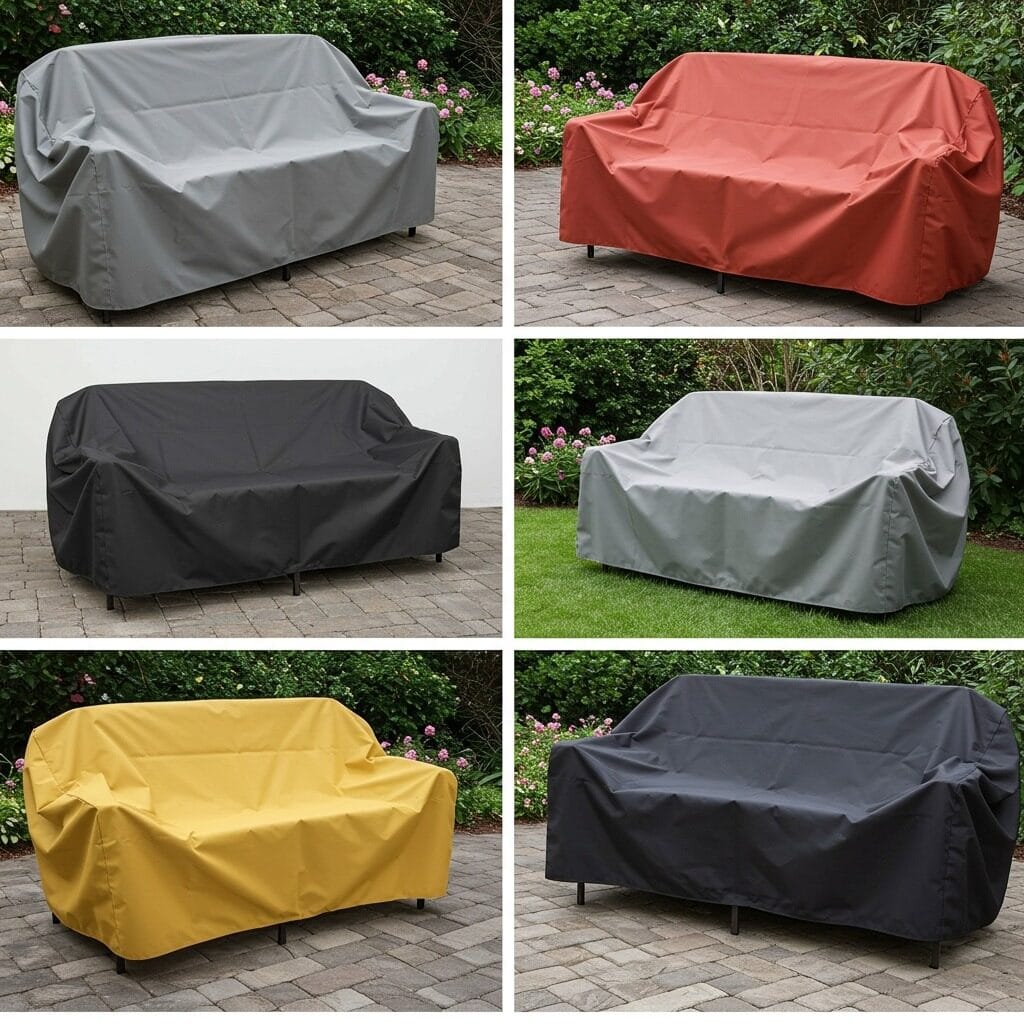
The cover market is flooded with options, but not all covers are created equal. Those cheap plastic tarps from the hardware store might seem like a bargain, but they often cause more harm than good by trapping moisture against your furniture.
Look for covers made from breathable, waterproof materials. The best covers allow moisture to escape while preventing rain and snow from getting in. This balance is crucial – completely waterproof covers without ventilation can create a greenhouse effect that promotes mold growth.
Custom-fit covers are worth the investment for expensive pieces. Generic covers that are too large can collect water in the folds, while covers that are too small leave parts of your furniture exposed. Outdoor furniture protection becomes much more effective when covers actually fit properly.
For pieces that can’t be covered individually, consider larger covers that protect entire furniture groupings. Just make sure there’s adequate ventilation and that the cover doesn’t create pockets where water can collect and freeze.
Don’t forget about the small details. Chair arms, table legs, and decorative elements often need special attention. Some furniture has specific weak points where water tends to collect – these areas might benefit from additional protection beyond just a cover.
4. Material-Specific Care Instructions
Different furniture materials have dramatically different winter care requirements. What works perfectly for your aluminum dining set could destroy your teak benches, so it’s worth taking time to understand what you’re working with.
Teak furniture is naturally weather-resistant but benefits from a light application of teak oil before winter storage. This helps prevent the wood from drying out and cracking during cold months. However, avoid over-oiling – too much can attract dirt and create a sticky surface that’s harder to clean in spring.
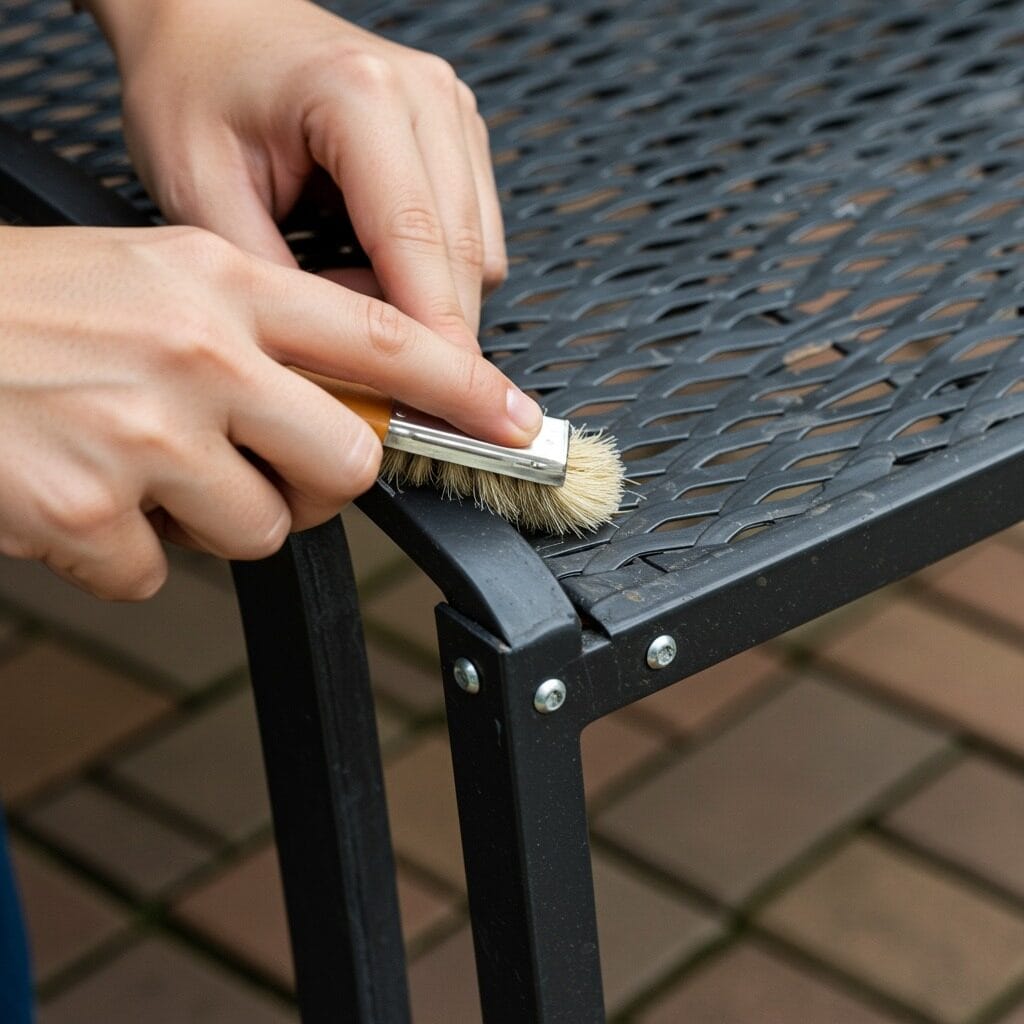
Wrought iron and steel pieces need thorough rust prevention. Any existing rust spots should be sanded down and treated with rust converter, followed by touch-up paint if necessary. A light coat of car wax can provide additional protection for painted surfaces.
Wicker and rattan require gentle handling. These materials can become brittle in cold weather, so avoid moving or adjusting wicker pieces once temperatures drop. If you need to store wicker furniture, wrap it in breathable cloth rather than plastic to prevent moisture buildup.
Aluminum furniture is generally low-maintenance, but the joints and hardware still need attention. A spray of WD-40 or similar lubricant on moving parts will prevent them from seizing up during cold weather. Proper maintenance extends the life of even the most durable outdoor furniture.
For cushions and fabrics, removal and indoor storage is usually the best option. If you must leave them outside, ensure they’re completely dry before covering and consider using moisture-absorbing packets inside the covers.
5. Stackable and Foldable Furniture Tips
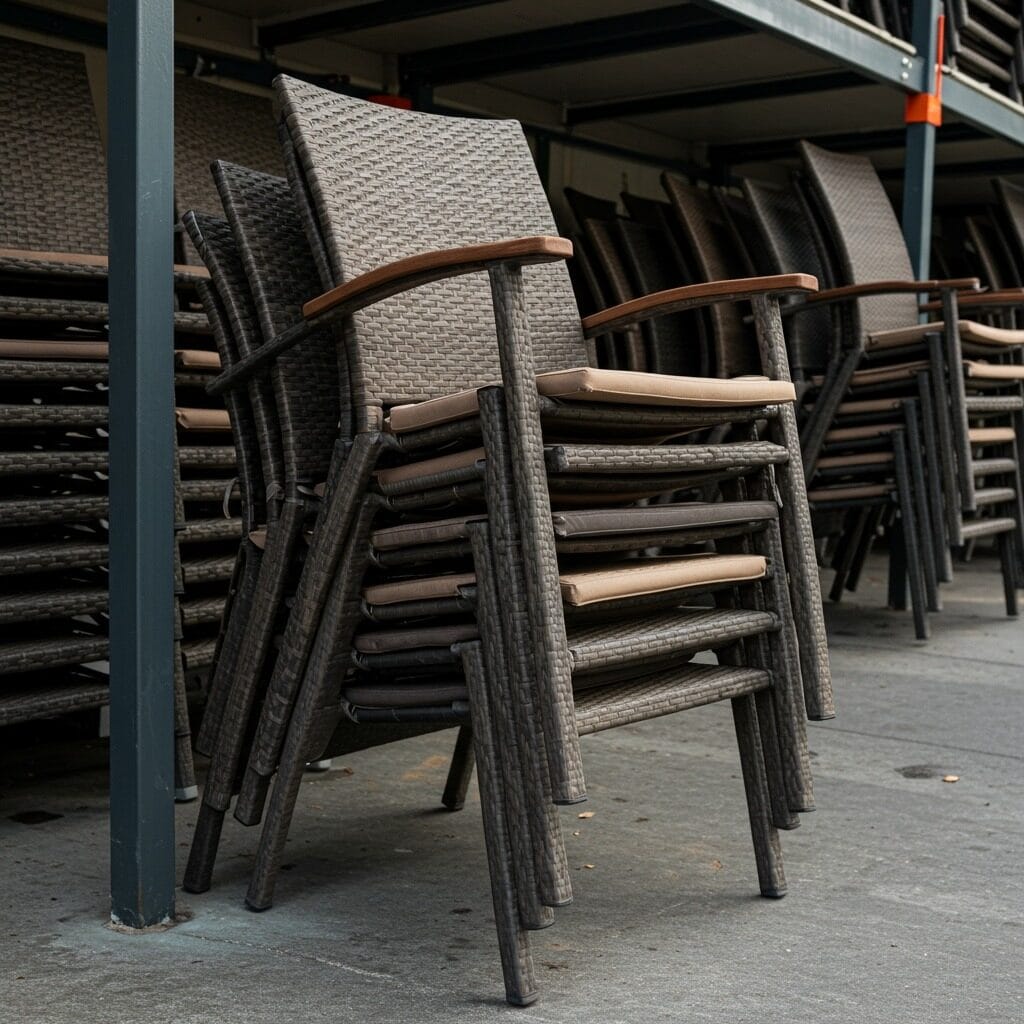
Stackable furniture is a blessing when it comes to winter storage, but improper stacking can lead to scratches, dents, and other damage. The key is protecting contact points between pieces while ensuring stability.
Use furniture pads, old towels, or even cardboard between stacked pieces. This prevents metal-on-metal contact that can cause scratching and helps cushion the weight distribution. For plastic furniture, be especially careful about weight limits – cold plastic becomes more brittle and prone to cracking.
When stacking chairs, alternate the direction if possible. This often creates a more stable stack and prevents pieces from nesting too tightly together. You don’t want to discover in spring that your chairs are stuck together from thermal expansion and contraction.
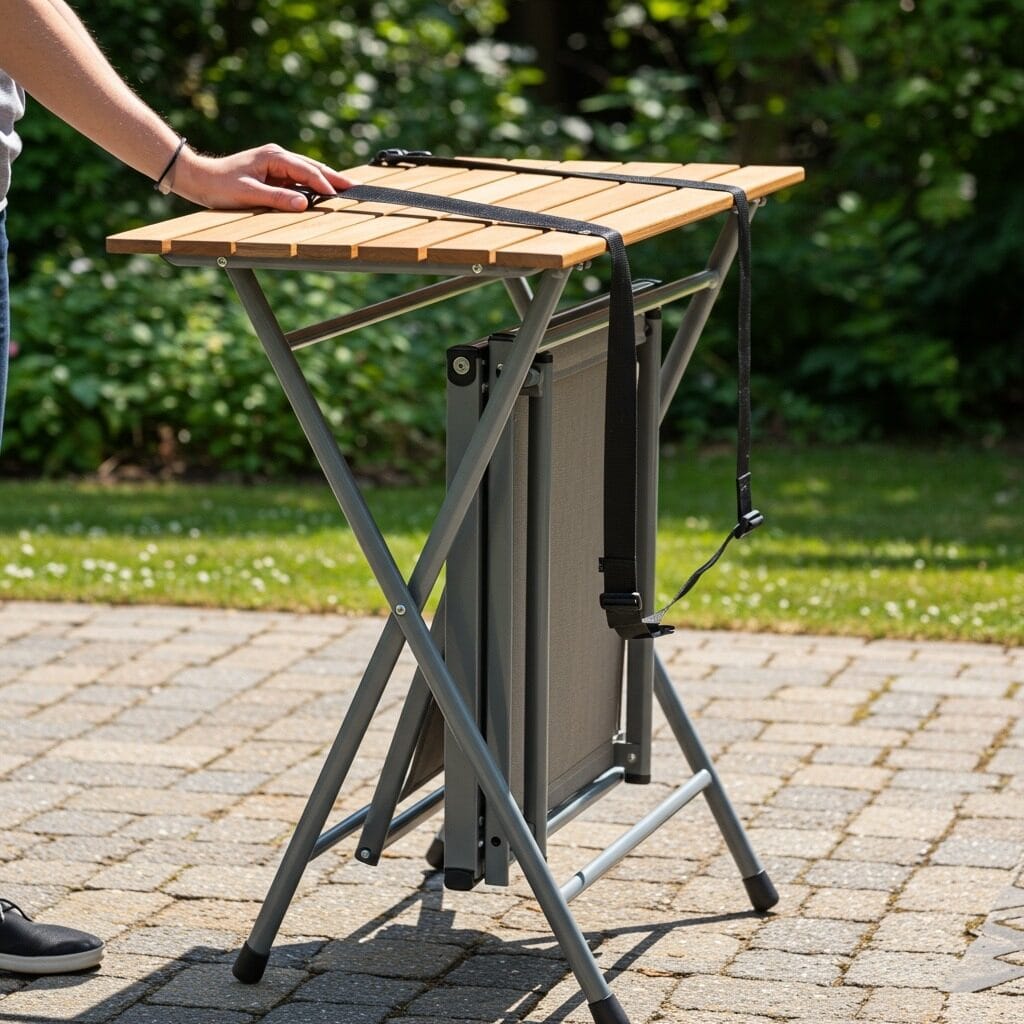
Folding furniture requires special attention to the hinge and locking mechanisms. Clean these thoroughly and apply a light lubricant to prevent them from rusting or seizing during storage. Test that all folding and locking functions work smoothly before putting pieces away.
Store folding pieces in their most compact position, but don’t over-tighten any clamps or locks. Metal expands and contracts with temperature changes, and overly tight mechanisms might bind or break when the weather warms up.
Consider the weight distribution when storing folded tables. The legs often create pressure points that can damage other stored items or the table itself. A simple solution is placing folded tables against a wall rather than stacking them with other furniture.
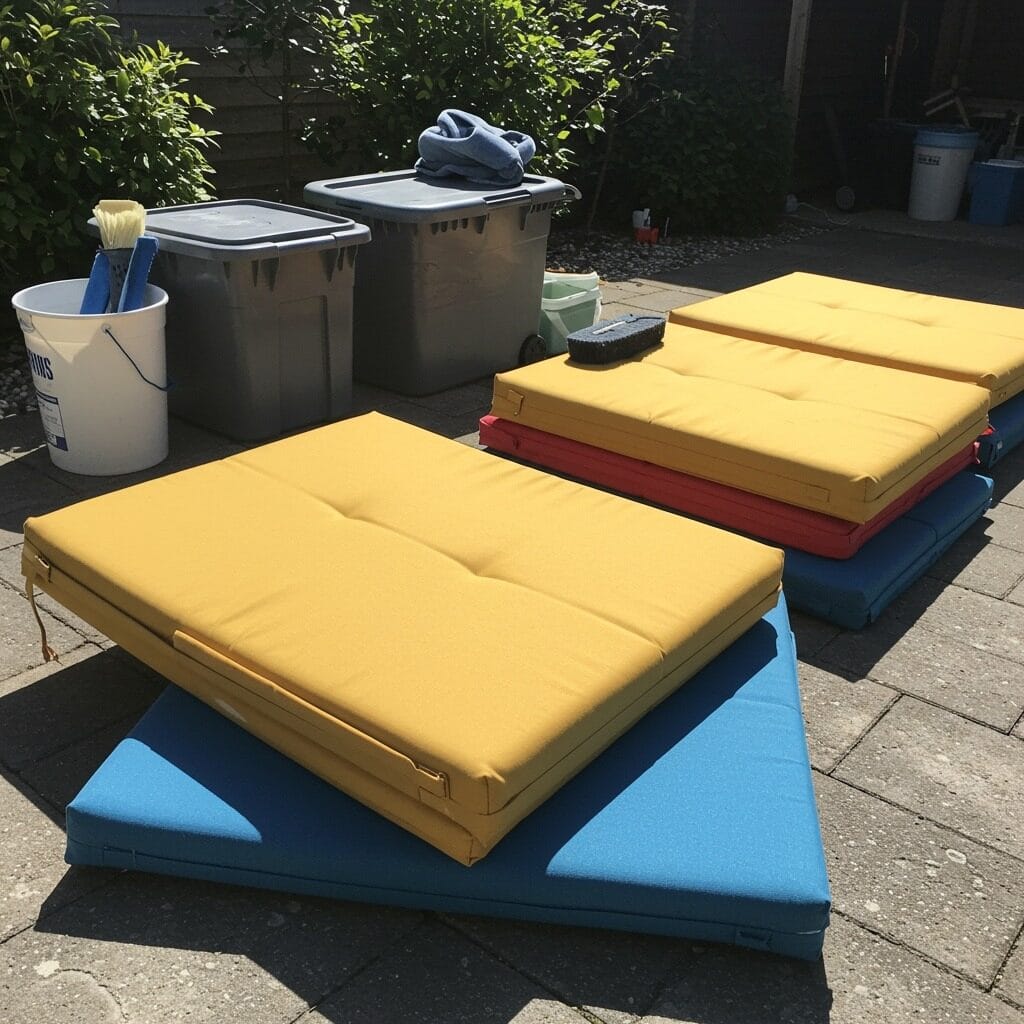
6. Cushion and Fabric Storage Solutions
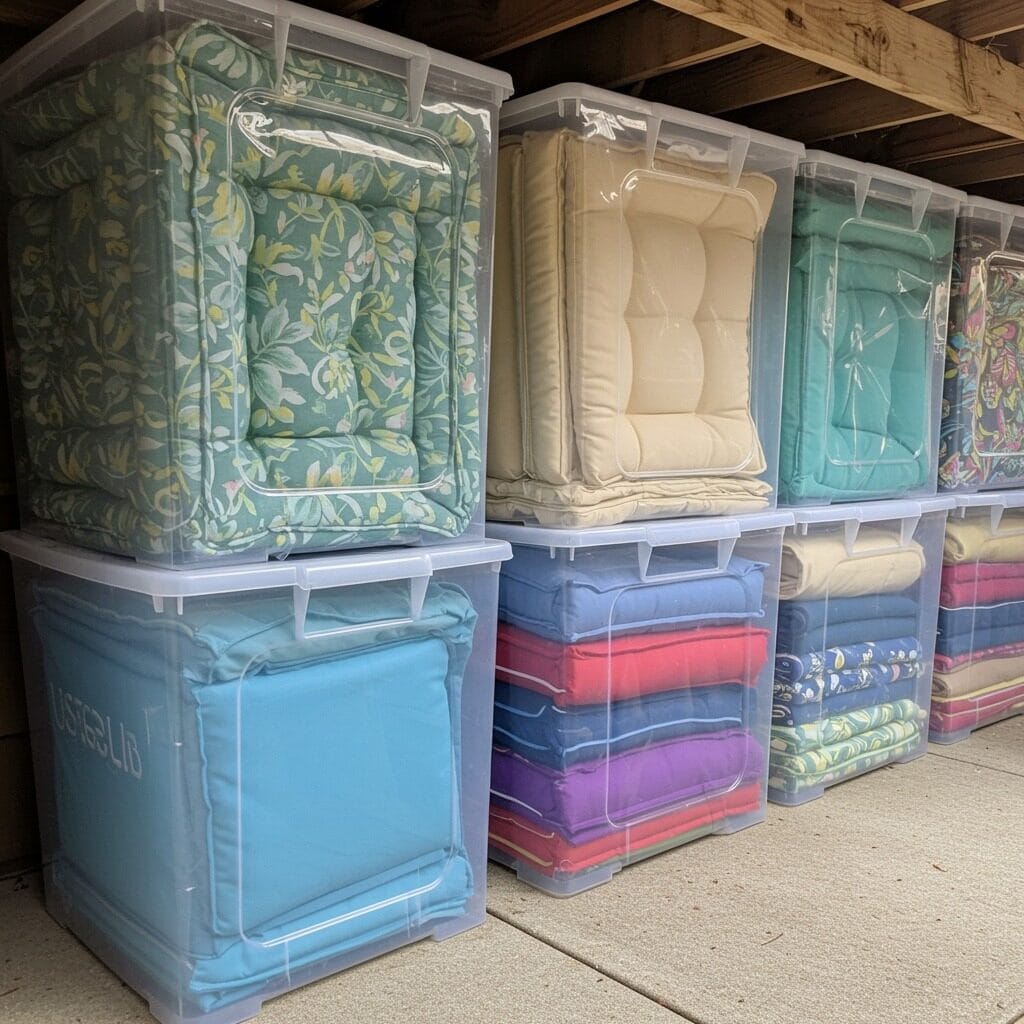
Cushions and fabric accessories require the most careful winter storage. These items are particularly vulnerable to moisture damage, and replacing outdoor cushions can be surprisingly expensive.
Before storing any fabric items, ensure they’re completely clean and dry. Even slightly damp fabric can develop mold and mildew in storage, creating stains and odors that are difficult or impossible to remove. Proper organization techniques help ensure everything stays in good condition through the winter months.
Vacuum-sealed storage bags can be excellent for cushions, but only if you’re certain everything is bone dry. The compression saves significant storage space, but trapped moisture in a vacuum-sealed environment will definitely cause problems.
For cushions that can’t be brought indoors, consider storing them in weatherproof deck boxes designed for outdoor use. These provide protection while allowing some air circulation. Add moisture-absorbing packets or cedar blocks to help control humidity inside the storage container.
If your cushions have removable covers, this is the perfect time to wash them separately. Store clean covers folded with tissue paper to prevent creasing, and store foam inserts in breathable bags or containers.
7. Creating a Winter Maintenance Schedule

Winter furniture care isn’t a set-it-and-forget-it process. Regular check-ups throughout the cold months can prevent small problems from becoming big ones, especially for pieces that must remain outdoors.
Plan to inspect outdoor-stored furniture at least once a month. Look for covers that have shifted or developed tears, ice buildup in problem areas, and signs of pest activity. A quick adjustment or repair in January can prevent major damage by March.
After major storms, do an extra check. High winds can shift covers, and ice storms can create conditions that test even the best protection. Sometimes a simple adjustment or clearing of ice buildup is all that’s needed to prevent damage.

Keep a simple maintenance kit ready – replacement bungee cords, duct tape for temporary cover repairs, and basic cleaning supplies. Having these items on hand means you can address problems immediately rather than waiting for a trip to the store.
Document any issues you discover during winter checks. This information will be valuable when planning next year’s winterization process and can help you identify furniture pieces that might need replacement or different storage solutions.
For indoor-stored pieces, a monthly check ensures that storage areas remain dry and that pests haven’t moved in. Organization systems that work well make these regular inspections quick and easy.
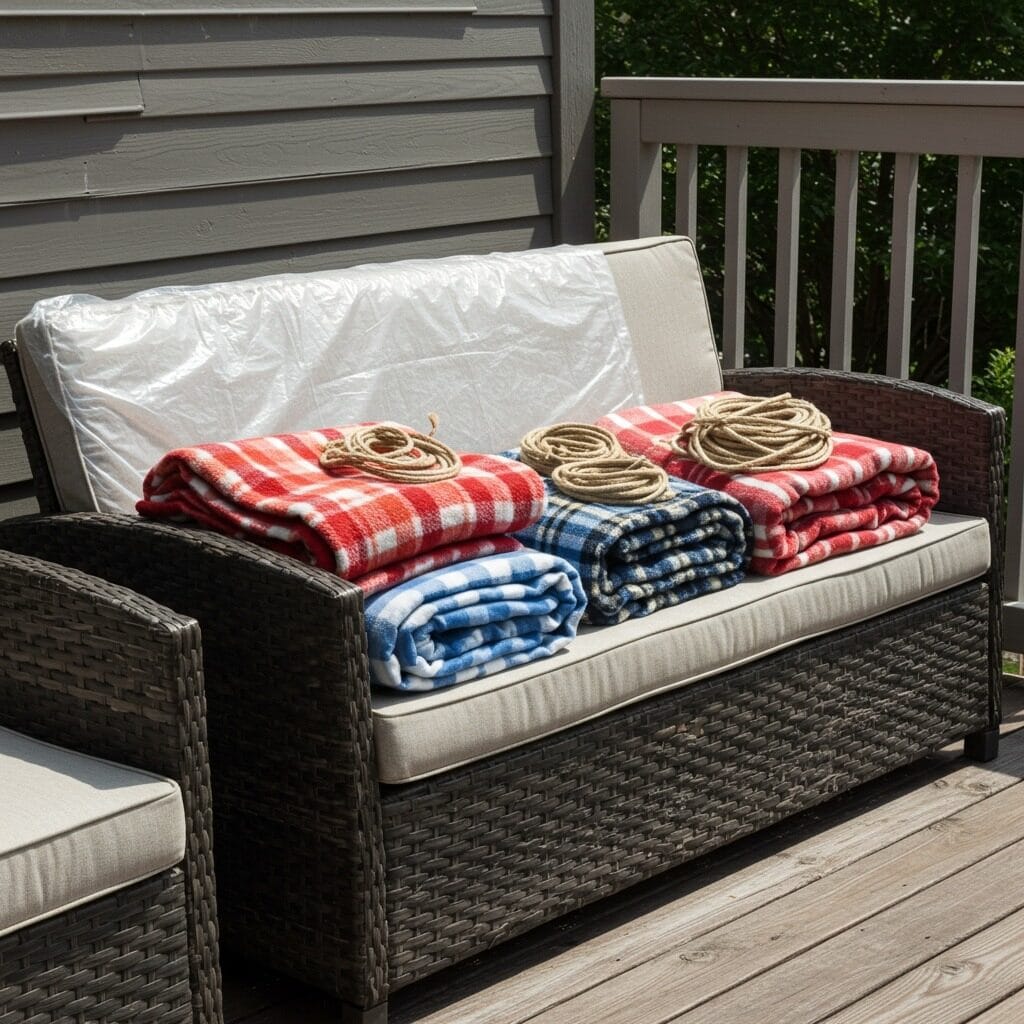
8. Budget-Friendly Protection Strategies
Protecting your outdoor furniture doesn’t require a huge investment in expensive covers and storage systems. Some of the most effective protection strategies use common materials you might already have around the house.
Heavy-duty garbage bags can provide excellent protection for chair legs and small accessories. While not suitable for entire pieces, they’re perfect for protecting the parts of furniture that are most vulnerable to moisture and ice damage.
Old blankets and sheets, when properly secured, can provide surprisingly good protection for furniture that’s stored in covered areas. The key is ensuring they don’t get saturated with moisture and that they’re secured well enough not to blow away in winter winds.
Cardboard can be used to create custom covers for oddly-shaped pieces, though it needs to be protected from direct moisture. Layering cardboard with plastic sheeting creates an inexpensive custom cover that can be surprisingly effective.
Pool noodles aren’t just for swimming – they make excellent padding for protecting furniture edges during storage and can be used to create cushioning between stacked pieces. They’re cheap, reusable, and much more effective than trying to use towels or clothing as padding.
Consider reaching out to friends and family who might have storage space to share. Sometimes a neighbor with an empty garage corner is happy to help in exchange for assistance with their own seasonal projects.
9. Spring Preparation and Inspection
The work isn’t done when winter ends. How you transition your furniture back to active use can determine whether your winter protection efforts were truly successful.
Don’t rush to uncover everything at the first sign of warm weather. Late spring storms can be particularly damaging to furniture that’s been uncovered too early. Wait until you’re confident that severe weather is behind you for the season.
When you do begin the uncovering process, inspect each piece carefully before putting it back into use. Look for signs of moisture damage, rust, pest activity, or structural issues that might have developed during storage. Seasonal maintenance becomes much easier when you catch problems early.
This is also the perfect time to assess what worked and what didn’t in your winter protection strategy. Make notes about covers that held up well, storage solutions that were effective, and any issues you encountered. This information will make next year’s winterization process much more efficient.
Some pieces might benefit from touch-up maintenance before being put back into regular use. A fresh coat of protective finish, new hardware, or replacement of worn parts now can prevent larger problems later in the season. Consider this transition time as an opportunity to rearrange your outdoor space or try new outdoor dining arrangements. Sometimes a winter of storage gives you a fresh perspective on how you want to use your outdoor areas.
Common Mistakes to Avoid
The biggest mistake people make when winterizing outdoor furniture is assuming that any cover is better than no cover. Poor-quality covers or improperly installed protection can actually cause more damage than leaving pieces exposed to the elements.
Never store furniture while it’s still damp or dirty. This seems obvious, but it’s amazing how often people rush through the cleaning process because the weather is turning cold. Taking shortcuts here almost always leads to problems that are much more expensive to fix than the time saved was worth.
Don’t over-tighten covers or straps. Materials contract in cold weather, and covers that fit perfectly in fall might become too tight as temperatures drop. Leave some slack for thermal expansion and contraction.
Avoid storing different types of materials in direct contact with each other. Metal hardware against wooden surfaces, for example, can cause staining and damage. Plastic in contact with painted surfaces can sometimes cause discoloration or paint damage.
Don’t forget about furniture accessories like umbrellas, cushions, and decorative elements. These items often suffer the most winter damage because they’re not part of the main furniture pieces and get overlooked during winterization.
The satisfaction of pulling perfectly preserved furniture out of winter storage is worth every bit of effort you put into proper winterization. Your outdoor spaces will be ready for enjoyment as soon as the weather warms up, and you’ll save money by extending the life of your furniture investment.
Taking care of your outdoor furniture through the winter months isn’t just about protection – it’s about being ready to enjoy your outdoor spaces the moment spring arrives. With the right approach, your favorite pieces will emerge from winter storage looking as good as the day you put them away.
Sanjai creates easy, affordable home decor ideas that anyone can try. Through simple tips and curated finds, he helps you style rooms you’ll love coming home to.