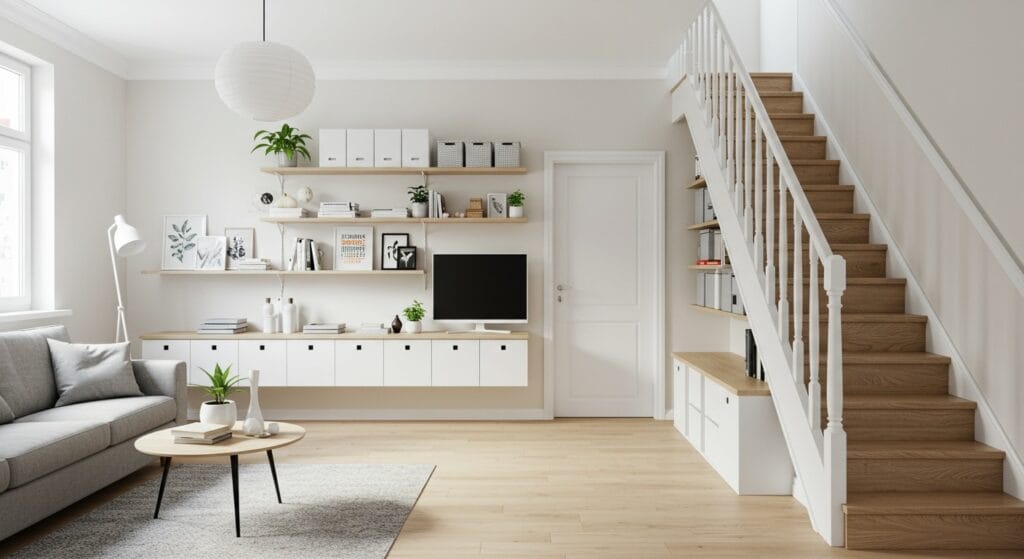
Wall paneling has made a remarkable comeback in modern interior design, and honestly, I can see why. There’s something incredibly satisfying about transforming a plain wall into an architectural masterpiece with your own hands. The texture, depth, and character that wall paneling diy projects bring to a space are simply unmatched by paint alone.
Whether you’re looking to add warmth to your living room or create a sophisticated backdrop in your bedroom, DIY wall paneling offers endless possibilities without the hefty price tag of hiring professionals. From classic wainscoting to trendy fluted panels, these projects can dramatically elevate your home’s aesthetic while building your confidence as a DIY enthusiast.
The best part? Most wall paneling projects require only basic tools and skills, making them perfect for weekend warriors and decorating newcomers alike. Let’s explore how you can achieve that custom millwork look without breaking the bank or your back.
Understanding Different Types of Wall Paneling
Before diving into your first project, it helps to understand the various styles available. Modern paneling ideas range from traditional to contemporary, each offering unique visual appeal and installation methods.
Board and batten remains one of the most popular choices for beginners. This classic style features vertical boards (battens) covering the seams between wider horizontal boards, creating clean lines that work beautifully in farmhouse and transitional spaces. The forgiving nature of this style means small imperfections often add to its rustic charm.
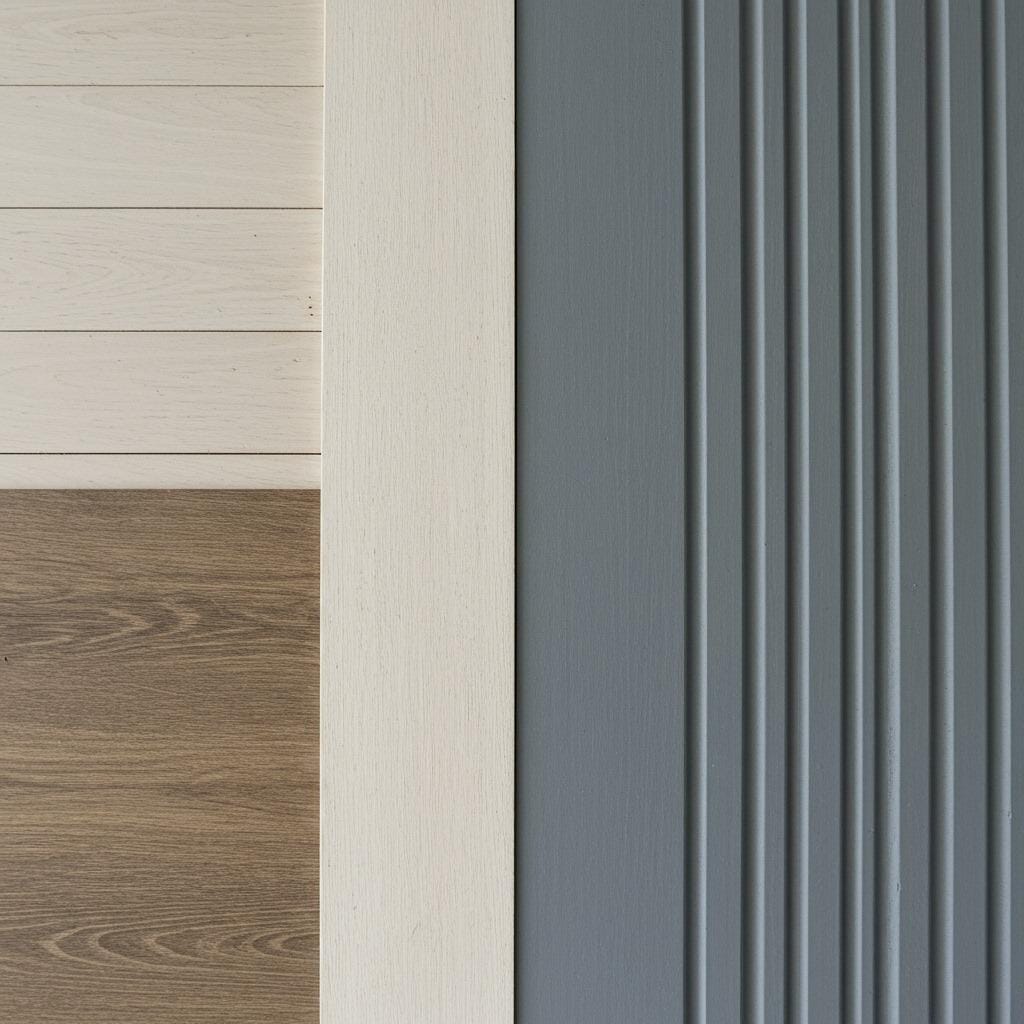
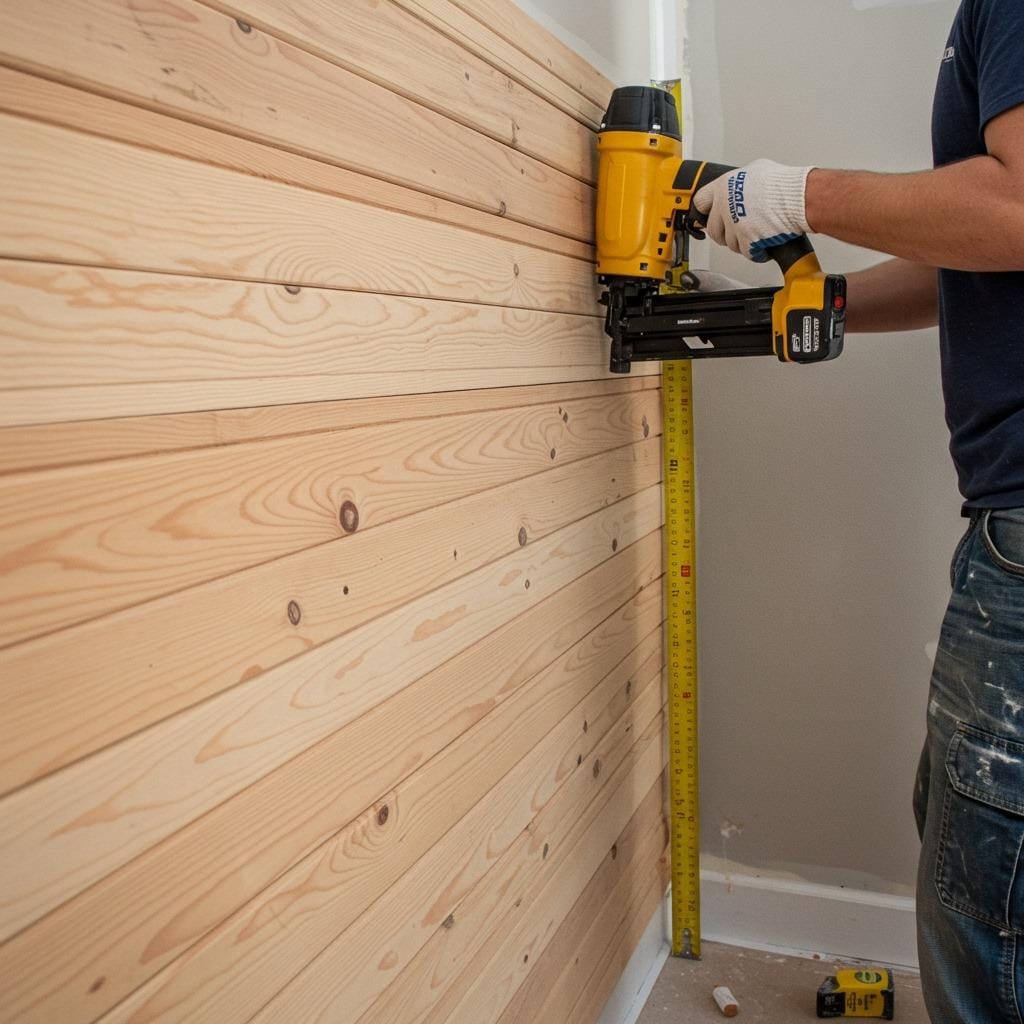
Shiplap offers another beginner-friendly option with its horizontal planks and subtle shadow lines. Originally used on ships (hence the name), this style has found new life in contemporary homes thanks to its clean, linear appearance. The overlapping edge design helps hide minor measurement errors, making it forgiving for first-time installers.
Wainscoting provides a more formal approach, typically covering the lower third of a wall and topped with a chair rail. This traditional style works particularly well in dining rooms and formal living spaces, adding both protection and elegance to high-traffic areas.
For those drawn to current trends, fluted or ribbed paneling creates stunning DIY accent walls with its vertical grooves and modern aesthetic. While slightly more complex to install, the dramatic impact makes it worth the extra effort.
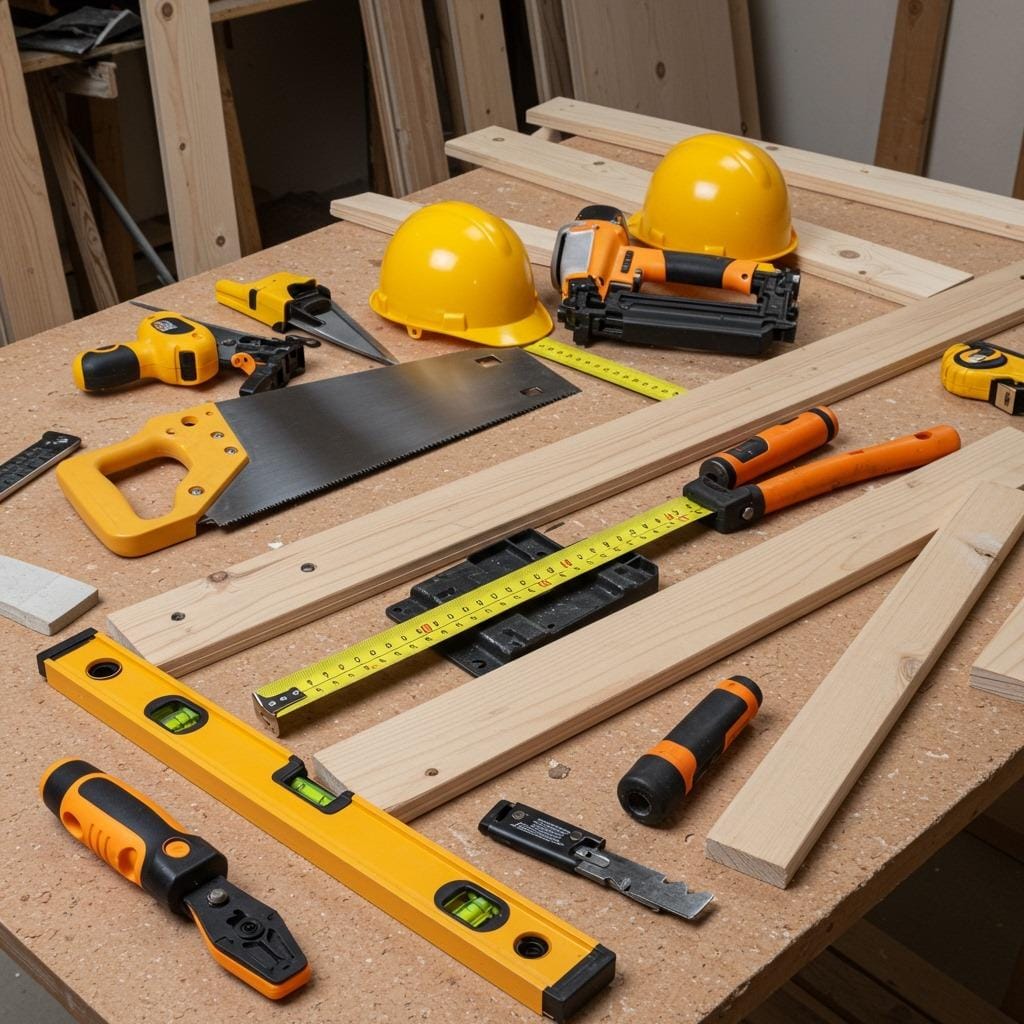
Essential Tools and Materials for Wall Paneling
Success in any DIY project starts with having the right tools and materials on hand. For most wall paneling projects, you’ll need a combination of measuring tools, cutting equipment, and fastening hardware.
Your cutting tools should include a circular saw or miter saw for precise cuts, and a jigsaw for any curved or intricate cuts around outlets or fixtures. A good tape measure, level, and chalk line will ensure your panels go up straight and evenly spaced. Don’t forget safety equipment – safety glasses and ear protection are non-negotiable when working with power tools.
Material selection depends on your specific project and budget. Medium-density fiberboard (MDF) offers an affordable option that takes paint beautifully, while real wood provides natural grain and character. For moisture-prone areas like bathrooms, consider moisture-resistant MDF or PVC boards.
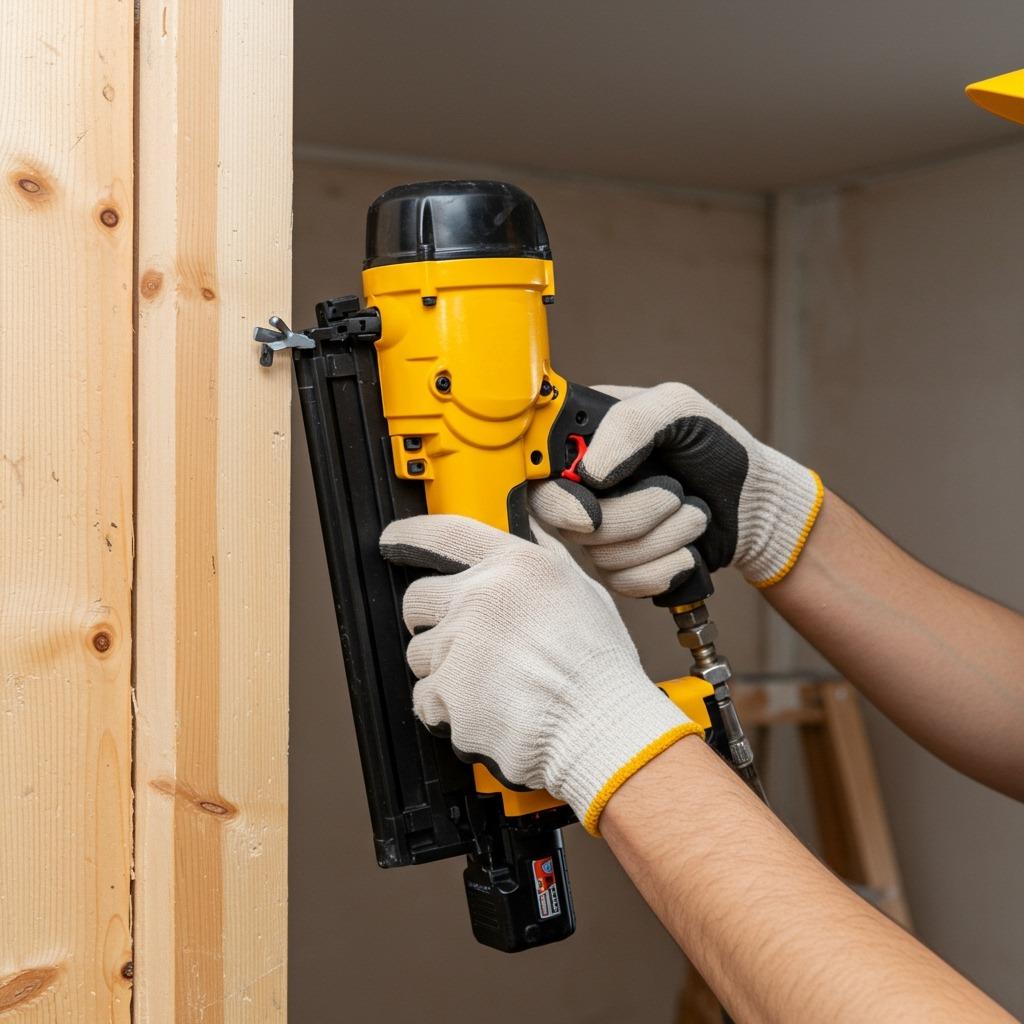
Hardware choices include construction adhesive, finish nails, and wood screws. A pneumatic nail gun speeds up installation considerably, though a hammer and nail set work fine for smaller projects. Quality wood glue helps ensure strong, lasting joints between pieces.
Consider your wall condition before starting. Older homes may have uneven walls requiring shimming or additional prep work. A stud finder becomes essential for locating secure attachment points, especially for heavier panels or when adding substantial trim pieces.
Planning Your Wall Paneling Layout
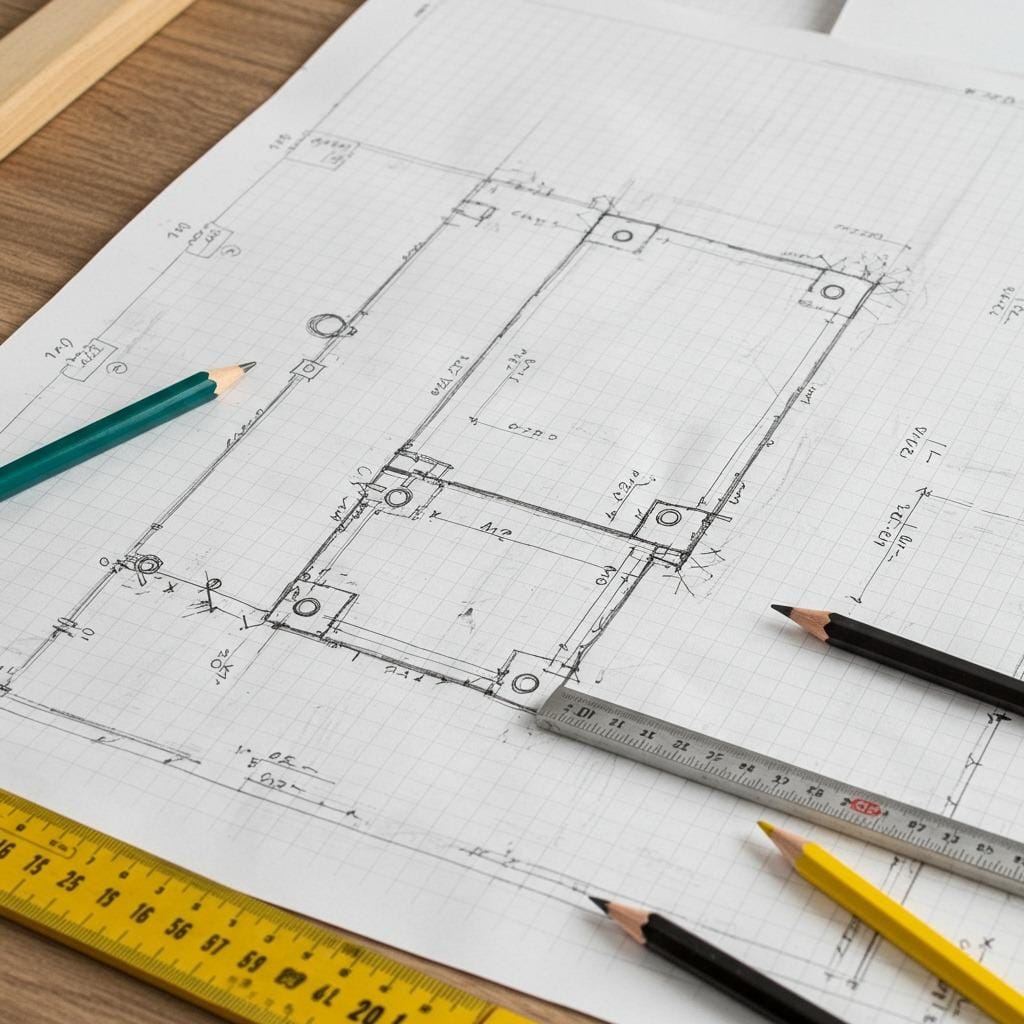
Proper planning prevents those frustrating moments when you realize your panels don’t quite fit as expected. Start by measuring your wall carefully, noting any obstacles like outlets, switches, or built-in fixtures that will require special cuts.
Sketch your wall layout on paper, including dimensions and panel spacing. This visual reference helps you calculate materials accurately and spot potential issues before cutting expensive lumber. For board and batten installations, odd numbers of vertical battens typically look more balanced than even numbers.
Consider your ceiling height when determining panel proportions. In rooms with 8-foot ceilings, wainscoting that extends 32-36 inches creates pleasing proportions, while higher ceilings can accommodate taller panels. The golden ratio (roughly 1:1.6) provides a helpful guideline for determining attractive proportions.
Plan your starting point carefully. For full-wall installations, beginning at the most visible corner ensures any slight variations end up in less noticeable areas. Mark your layout lightly on the wall with pencil before committing to cuts and installation.
Test your layout with strips of painter’s tape before cutting any materials. This preview method lets you adjust spacing and proportions without waste, and helps family members visualize the finished result.
Step-by-Step Board and Batten Installation
Board and batten installation begins with preparing your wall surface. Remove any existing trim and ensure the wall is clean, dry, and reasonably flat. Locate and mark all wall studs, as these provide the strongest mounting points for your battens.
Cut your horizontal boards (the “boards” in board and batten) to length first. These typically run the full width of your installation area. If your walls aren’t perfectly straight, you may need to scribe and trim boards for a tight fit against adjacent walls or trim.
Install horizontal boards using construction adhesive and finish nails driven into wall studs. Check frequently with your level to ensure boards remain straight and properly aligned. Gaps at corners or edges can be filled with paintable caulk later.
Measure and cut your vertical battens next. These narrower boards cover the seams between horizontal boards and create the characteristic lined appearance. Space battens evenly across your installation, typically 16-24 inches apart depending on your design preference and room scale.
Attach battens using the same combination of adhesive and nails. Pre-drilling pilot holes prevents splitting, especially near board ends. A pneumatic nail gun speeds this process significantly, but hand-nailing works fine for smaller projects.
Fill all nail holes with wood filler and allow to dry completely. Sand lightly to smooth any rough spots or filler that dried proud of the surface. Prime all surfaces before applying your final paint coat for the best finish and durability.
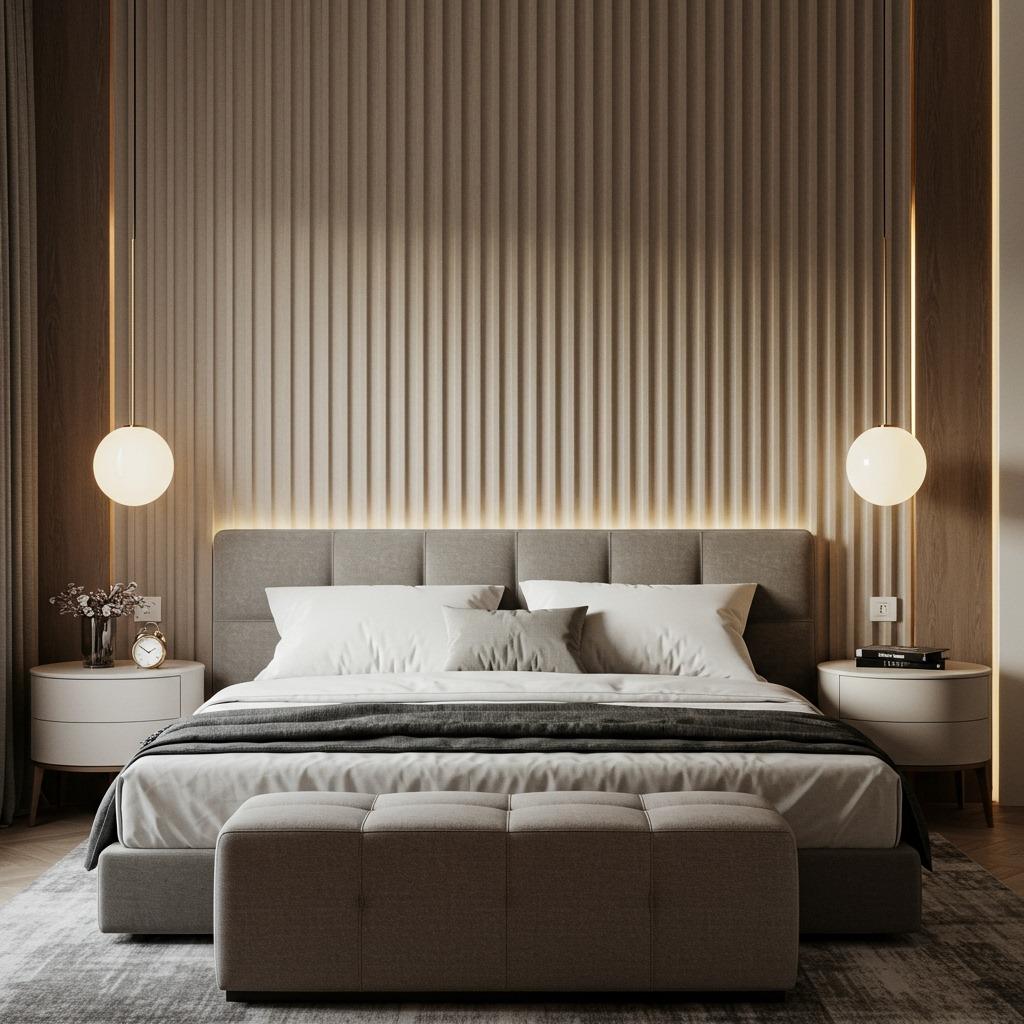
Creating Modern Fluted Wall Panels
Fluted panels represent a more contemporary approach to home wall molding that creates stunning visual impact through repetitive vertical grooves. This style works particularly well as an accent wall behind beds, sofas, or in modern living rooms seeking architectural interest.
Begin by creating a template for consistent groove spacing. Cut a piece of scrap wood to your desired groove width (typically 1/2 to 3/4 inch) to use as a spacer guide. This ensures uniform spacing throughout your installation, which is critical for the clean, modern appearance you’re after.
Material preparation involves cutting your base panel to size and routing or cutting the vertical grooves. A router with a straight bit creates the cleanest grooves, though a table saw with multiple passes can achieve similar results. Sand all surfaces smooth after cutting.
For large walls, consider creating panels in manageable sections rather than attempting one continuous piece. This approach makes installation easier and allows for easier replacement if damage occurs. Plan panel joints to fall at natural break points like corners or doorways.
Install panels using construction adhesive and screws driven into wall studs. Countersink screws and fill holes for a smooth finish. The repetitive nature of fluted panels means any imperfections tend to blend into the overall pattern, making this style somewhat forgiving for beginners.
Installing Wainscoting Like a Pro
Wainscoting installation requires precision in height planning and careful attention to proportional relationships. Traditional wainscoting extends 30-36 inches up the wall, though contemporary interpretations may go higher or lower depending on your design goals and ceiling height.
Start with a level horizontal line marking your desired wainscoting height. This line serves as your guide for both the top rail and panel installation. Use a chalk line for long walls to ensure consistency across the entire installation area.

Cut and install your base molding first, ensuring tight joints at corners. Cope inside corners for the best fit, especially in older homes where corners may not be perfectly square. This foundational element sets the stage for everything above it.
Panel installation varies depending on whether you’re using flat panels, raised panels, or beadboard. Flat panels offer the simplest installation, while raised panels require careful alignment and consistent reveals between panels. Beadboard provides texture and visual interest with its characteristic grooved surface.
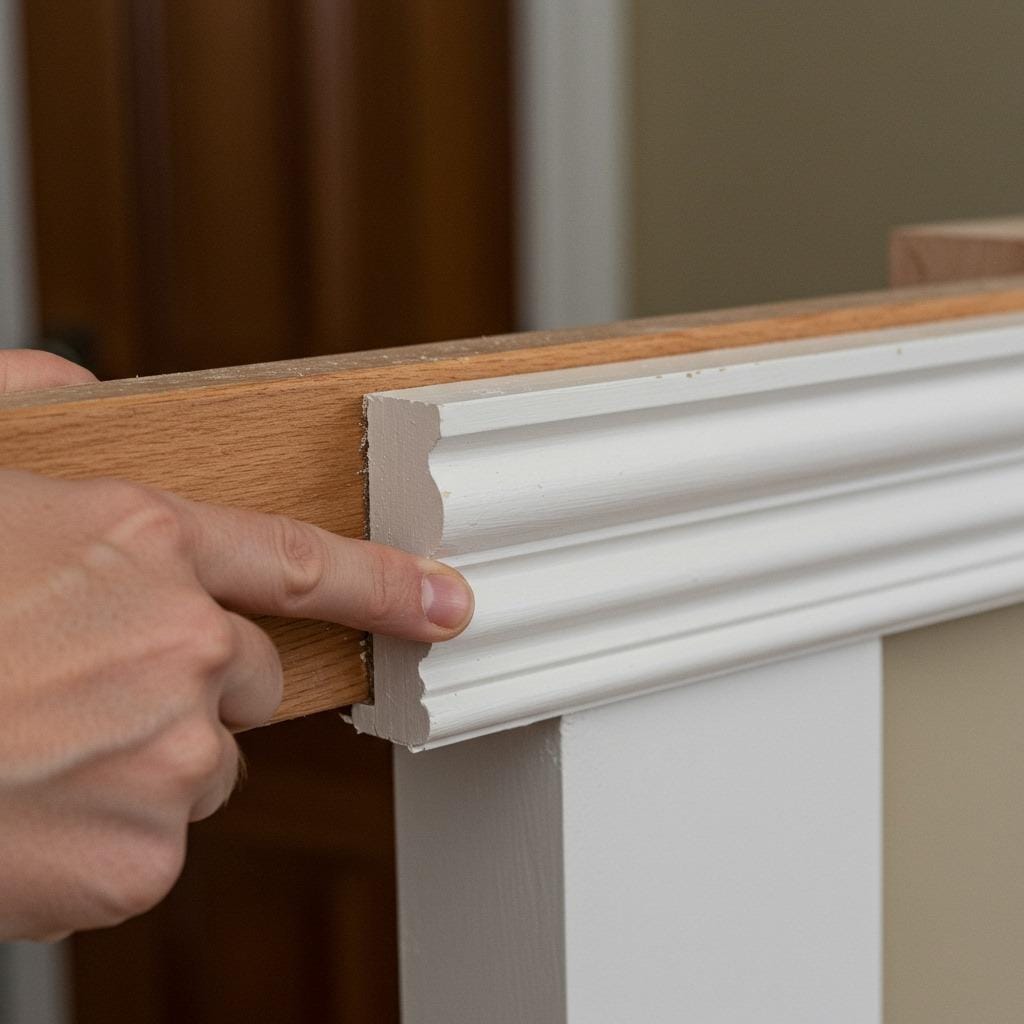
Install the chair rail or cap molding last, ensuring it sits level and consistent across the entire installation. This trim piece not only finishes the top edge but also provides opportunity for decorative detail that enhances your room’s overall style. Consider different profiles to match your home’s architectural period and personal aesthetic preferences.
Finishing Techniques for Professional Results
The difference between amateur and professional-looking results often comes down to finishing details. Proper caulking, filling, and paint preparation transform good DIY work into stunning architectural features that rival professional installations.
Fill all nail holes with high-quality wood filler, slightly overfilling to account for shrinkage as the filler dries. Sand smooth once dry, being careful not to sand through any existing finish or primer on surrounding surfaces.
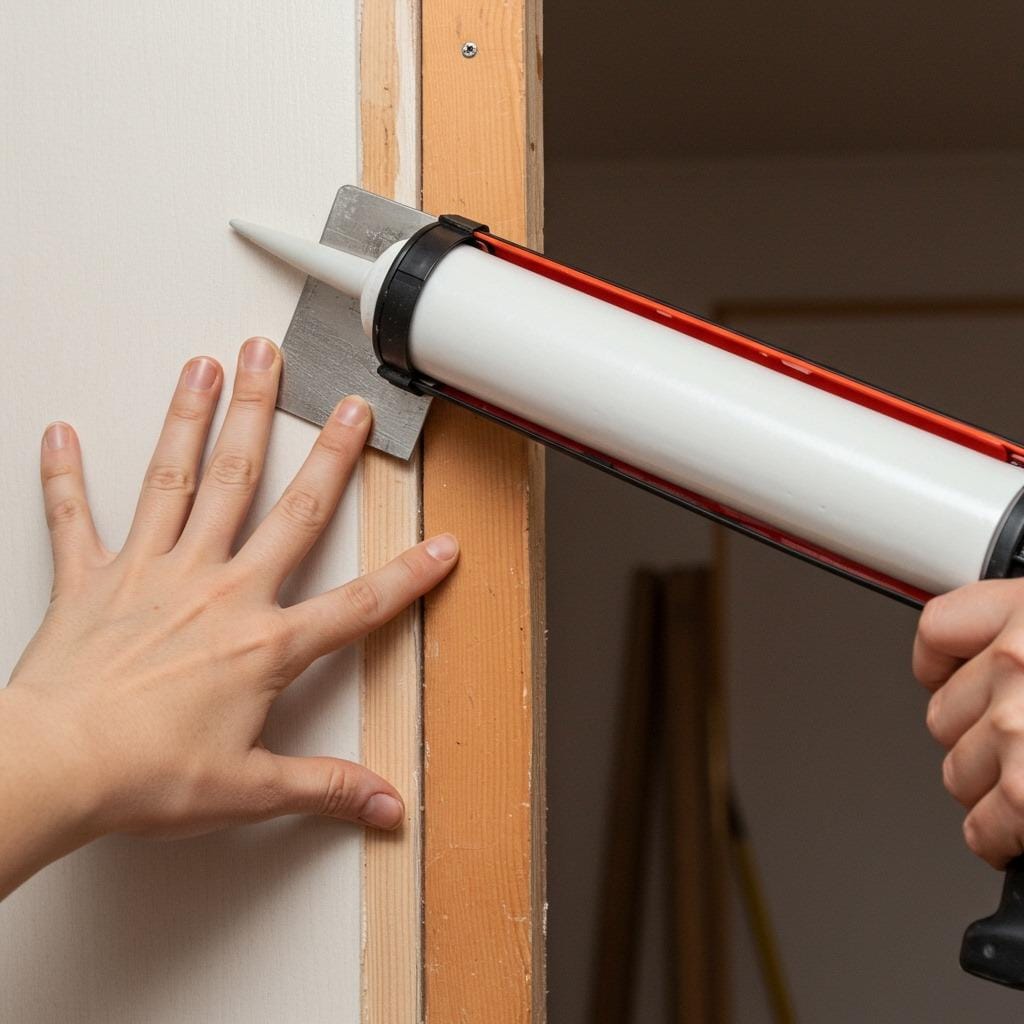
Caulk all joints where panels meet walls, ceilings, or other trim pieces. Use paintable acrylic caulk and tool joints with your finger or a caulk tool for smooth, professional appearance. Don’t skip this step – visible gaps immediately identify amateur installation work.
Prime all surfaces with high-quality primer designed for your panel material. MDF requires sealing primer to prevent absorption and ensure even paint coverage. Wood panels may need stain-blocking primer if you’re painting over natural wood grain or knots.
Apply final paint in thin, even coats rather than trying to cover everything in one thick application. Use high-quality brushes or rollers designed for your paint type, and maintain consistent pressure and stroke patterns. For the smoothest finish, lightly sand between coats with fine-grit sandpaper.
Consider the paint sheen carefully – semi-gloss or satin finishes work well for wainscoting and trim pieces as they’re easier to clean and more durable in high-traffic areas. Match your existing trim work for consistency throughout your home.
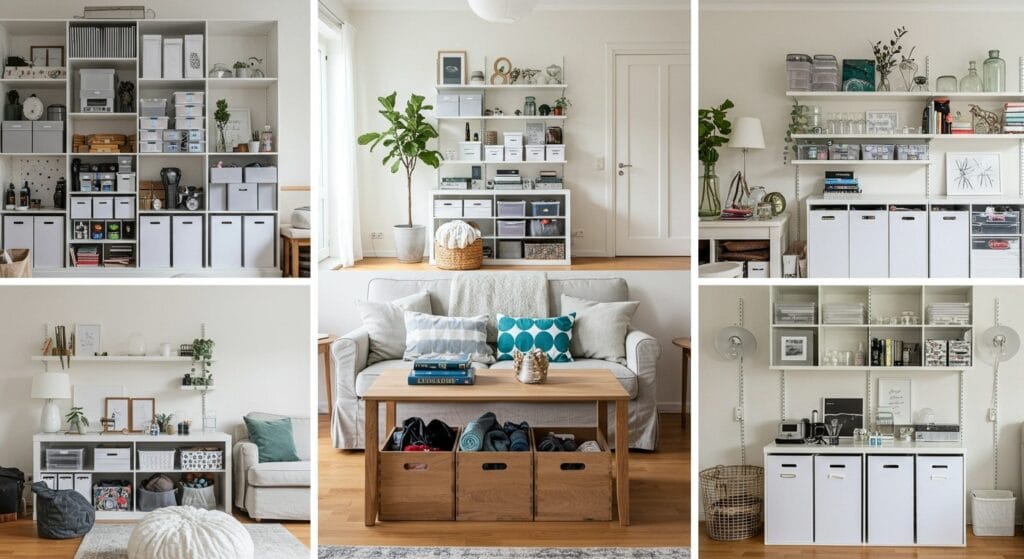
Budget-Friendly Material Alternatives
Creating beautiful wall paneling doesn’t require expensive hardwood or custom millwork. Several budget-friendly alternatives deliver impressive results while keeping costs manageable for most DIY budgets.
MDF (Medium Density Fiberboard) offers excellent value for painted applications. It cuts cleanly, accepts paint beautifully, and costs significantly less than hardwood. The smooth surface eliminates wood grain telegraphing through paint, creating a factory-like finish quality.
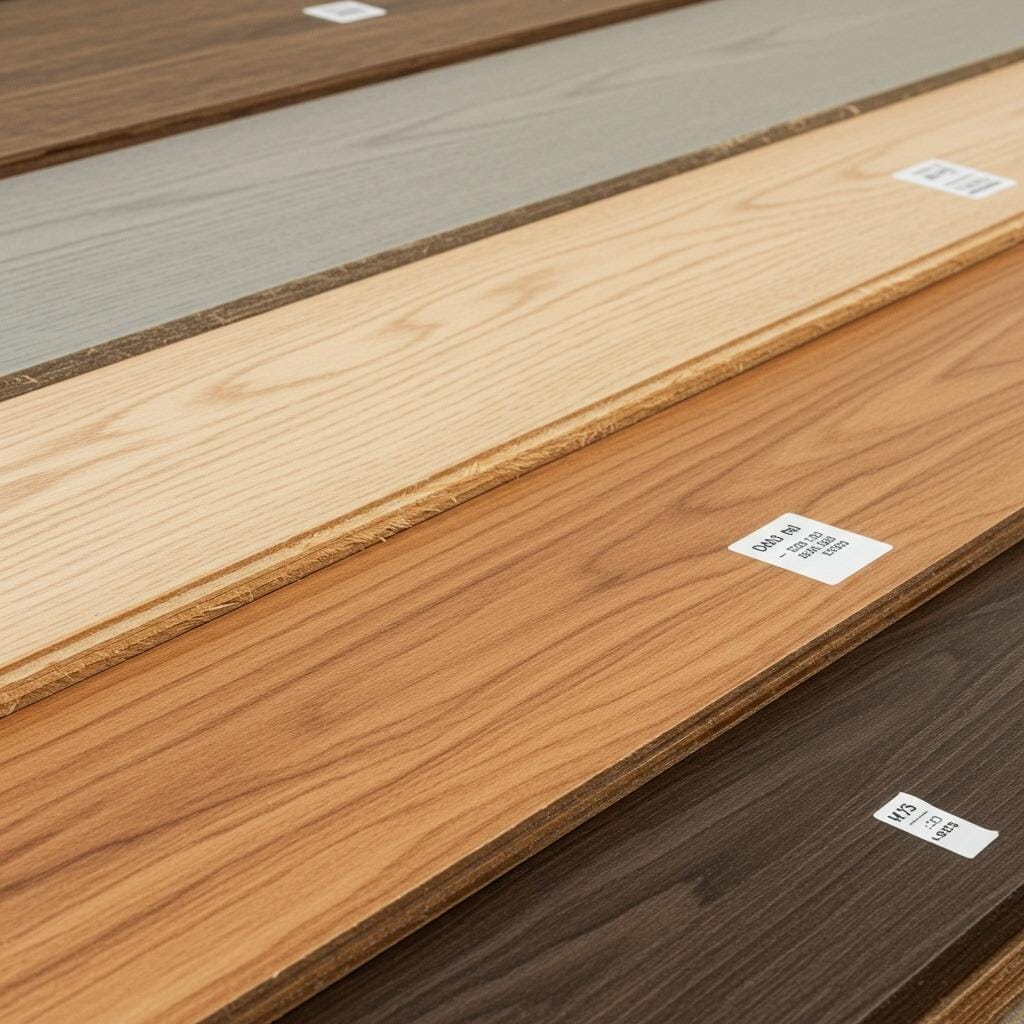
Pine boards provide natural wood character at reasonable cost, though they require more care in finishing to avoid knots and grain showing through paint. For stained applications, pine offers beautiful grain patterns at fraction of hardwood costs.
Plywood strips, ripped to width from sheet goods, create custom battens and trim pieces economically. Choose furniture-grade plywood with smooth surfaces for best results. This approach works particularly well for modern minimalist applications where clean lines matter more than wood species.
Composite and PVC materials cost more initially but offer superior moisture resistance and dimensional stability. These materials work especially well in bathroom applications or basements where humidity fluctuations could cause wood movement.
Consider mixing materials strategically – use expensive hardwood for highly visible areas while employing MDF or pine in less prominent locations. This approach maximizes visual impact while controlling overall project costs.
Troubleshooting Common Installation Issues
Even carefully planned projects encounter unexpected challenges. Understanding common issues and their solutions helps you work through problems confidently rather than starting over or calling for professional help.
Uneven walls present frequent challenges in older homes. Use shims behind panels to bring them into proper alignment, or consider installing furring strips to create a consistent mounting surface. A long level helps identify high and low spots before installation begins.

Outlets and switches require careful measuring and cutting for professional results. Create cardboard templates before cutting expensive materials, and remember that outlet boxes may not be perfectly aligned with your panel layout. Adjustable box extenders can help align outlets with your new wall surface.
Corner installations often cause headaches due to out-of-square conditions. Cope joints work better than miter joints for inside corners, especially in older homes. For outside corners, consider using corner trim pieces to cover joint lines rather than attempting perfect miter joints.
Seasonal wood movement affects natural wood panels more than engineered materials. Allow for expansion and contraction by avoiding overly tight fits, especially in areas with significant temperature or humidity variations. Proper acclimation of materials before installation reduces movement issues.
Gap filling becomes necessary when panels don’t fit perfectly against existing surfaces. Paintable caulk handles small gaps effectively, while larger gaps may require trim pieces or scribing panels to match irregular surfaces. Don’t try to force panels into spaces that are obviously too small.
Maintenance and Care for Painted Panels
Proper maintenance keeps your DIY wall paneling looking fresh and professional for years to come. Regular cleaning and periodic touch-ups prevent minor issues from becoming major problems requiring extensive refinishing.
Dust panels regularly using microfiber cloths or vacuum brush attachments. The grooves and shadow lines that make paneling attractive also collect dust and debris more readily than flat wall surfaces. Establish a cleaning routine that includes these detailed areas.
Address paint chips and scratches promptly to prevent moisture infiltration and further damage. Keep touch-up paint on hand in small containers, and clean damaged areas thoroughly before applying repairs. Feather repair edges to blend with surrounding surfaces.
Caulk joints may crack or shrink over time, especially during seasonal changes. Re-caulk as needed to maintain weather sealing and professional appearance. Remove old, cracked caulk completely before applying new material for best adhesion and longevity.
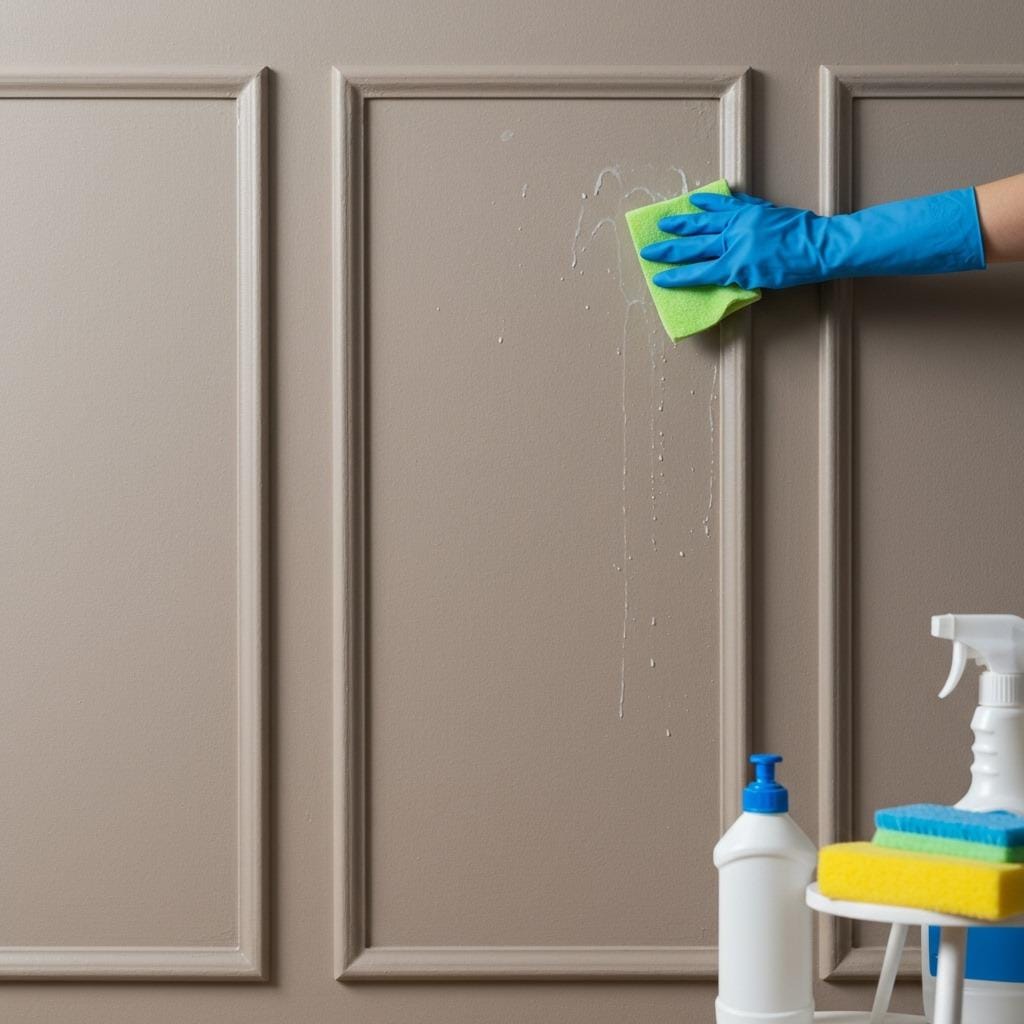
Avoid harsh cleaners or abrasive materials that could damage paint finishes or create unwanted texture changes. Mild soap solutions work well for most cleaning needs, while magic erasers can remove stubborn marks without damaging paint.
Monitor for any signs of moisture infiltration, especially in bathroom installations. Address any caulk failures or paint peeling immediately to prevent more serious moisture damage to underlying materials.
Creating beautiful wall paneling yourself brings tremendous satisfaction along with significant cost savings. These projects prove that professional-looking architectural details are within reach of motivated DIY enthusiasts willing to take their time and follow proper techniques.
Remember that patience and attention to detail matter more than expensive tools or perfect conditions. Most homes have quirks that require creative solutions, and working through these challenges builds both skills and confidence for future projects.
The visual impact of well-executed wall paneling diy projects extends far beyond the materials cost, transforming ordinary rooms into spaces with character, depth, and architectural interest that rivals much more expensive renovations.
Whether you choose classic board and batten for a farmhouse kitchen or modern fluted panels for a contemporary bedroom accent wall, these techniques provide the foundation for creating stunning results that enhance your home’s value and your enjoyment of the space.
Sanjai creates easy, affordable home decor ideas that anyone can try. Through simple tips and curated finds, he helps you style rooms you’ll love coming home to.