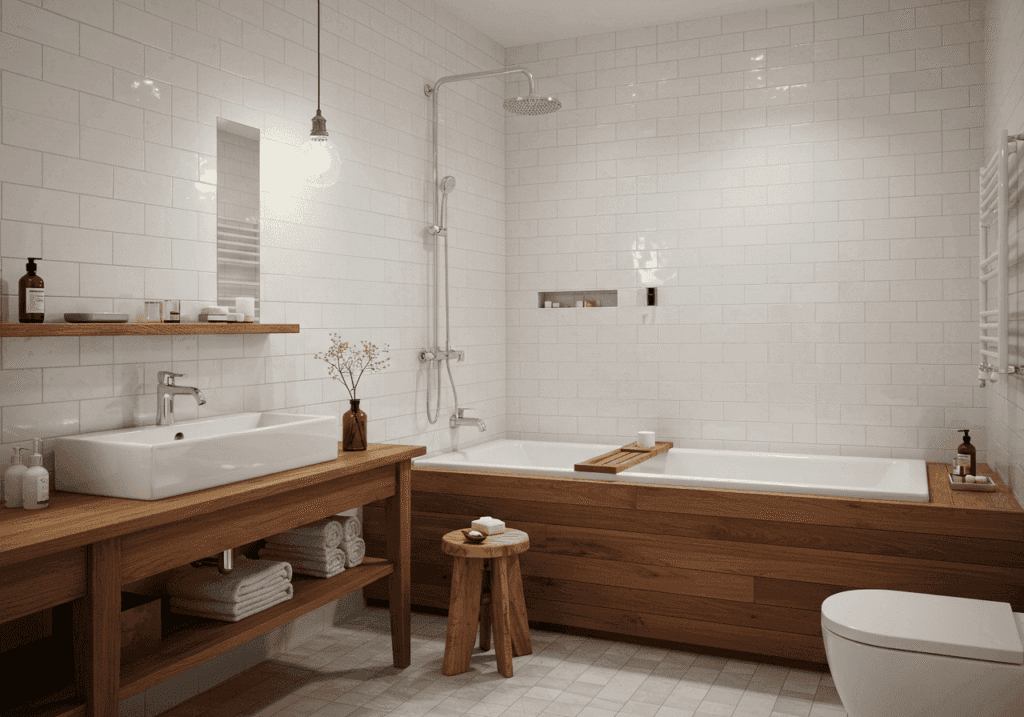
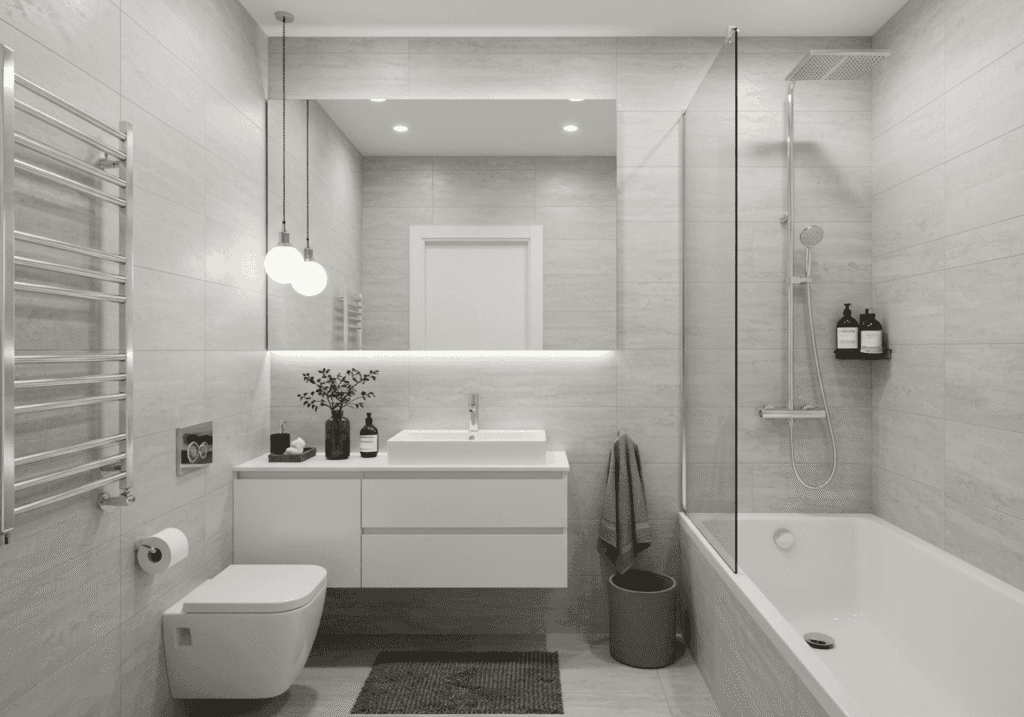
Your bathroom vanity sees more action than almost any other piece of furniture in your home. Between daily routines, splashing water, and constant humidity, it’s no wonder that tired vanity starts looking worn out. But here’s the thing – you don’t need to shell out thousands for a replacement when a fresh coat of paint can work absolute magic.
I’ve painted more vanities than I can count (seriously, it’s become my weekend hobby), and let me tell you, there’s something incredibly satisfying about transforming a dated piece into something that looks like it belongs in a luxury hotel. The best part? It’s way easier than you think, and the results will have your guests asking where you bought your “new” vanity.

Whether you’re dealing with honey oak from the 90s or a builder-grade vanity that’s seen better days, this complete guide will walk you through every single step to achieve that professional finish you’re dreaming of.
Why Paint Your Bathroom Vanity Instead of Replacing It?

Before we dive into the how-to, let’s talk about why painting your vanity makes so much sense. First off, the cost savings are absolutely incredible – while a new vanity can easily cost $800-2000 (not including installation), painting typically runs under $100 for all supplies.
But it’s not just about the money. Most older vanities are actually built better than today’s budget options. That solid wood construction from decades past? You literally can’t buy that quality at Home Depot anymore. Plus, if your vanity fits your space perfectly, finding a replacement with the exact same dimensions can be a nightmare.
There’s also the environmental angle – instead of sending a perfectly functional piece to the landfill, you’re giving it new life. And honestly? The sense of accomplishment you’ll feel every time you walk into your bathroom is priceless.
Choosing the Right Paint for Bathroom Cabinet Painting

This is where a lot of DIYers go wrong, and it can make or break your entire project. Bathrooms are basically torture chambers for paint – high humidity, temperature swings, and constant moisture exposure mean you need paint that can handle serious abuse.
Your best bet is a high-quality acrylic paint specifically designed for cabinets and trim. Brands like Benjamin Moore Advance or Sherwin Williams ProClassic are worth every penny. These paints cure to an incredibly durable, almost furniture-like finish that can handle daily wear and tear.
Skip the regular wall paint, even if it claims to be “bathroom paint.” You need something that will cure hard and resist chips when you inevitably bang a hair dryer against the door. Semi-gloss or satin finishes work best – they’re easier to clean and more moisture-resistant than flat paints.
Essential Tools and Materials You’ll Need

Having the right tools makes the difference between a DIY disaster and a finish that rivals professional work. Don’t try to cut corners here – cheap brushes and rollers will leave you with a streaky, unprofessional look that screams “amateur paint job.”
For brushes, invest in a high-quality 2-2.5 inch angled brush for the detailed work and a small foam roller for flat surfaces. The angled brush helps you get crisp lines around hinges and handles, while the foam roller gives you that smooth, factory-like finish on door centers and drawer fronts.
You’ll also need 220-grit sandpaper, tack cloths, a good degreaser, painter’s tape, and plastic drop cloths. Don’t forget a small container for mixing paint and plenty of rags. Trust me, painting cabinets is messier than you think, and being prepared will save your sanity.
Step-by-Step Preparation Process

Here’s where most people want to rush, but proper prep work is what separates professional results from amateur hour. Start by removing all the doors and drawers – yes, all of them. I know it seems like overkill, but trying to paint around hinges never ends well.
Clean everything thoroughly with a degreaser or TSP substitute. Bathroom vanities accumulate years of hair products, toothpaste splatters, and general grime that will prevent paint from adhering properly. Pay special attention to areas around handles where oils from hands build up over time.
Next comes sanding – not to remove the finish completely, but to rough up the surface so your primer has something to grab onto. Use 220-grit sandpaper and sand lightly in the direction of the wood grain. After sanding, wipe everything down with tack cloths to remove every speck of dust.
The Secret to Professional-Looking Results

Want to know what separates DIY paint jobs from professional ones? It’s all in the primer. A high-quality bonding primer is absolutely non-negotiable, especially if you’re going from dark to light or dealing with previously painted surfaces.
Apply primer with the same care you’ll use for your final coat. Use long, smooth strokes and watch for drips or pooling, especially on vertical surfaces. Most people rush through priming thinking “no one will see this anyway,” but primer imperfections will telegraph right through your final finish.
Let the primer cure completely – usually 24 hours in a humid bathroom environment. I know waiting is painful when you’re excited to see results, but patience here pays off big time. A properly cured primer creates the perfect foundation for your topcoats.
Painting Technique That Actually Works

Now for the main event – applying your finish coats. Start with your brush and paint all the detailed areas first – around hinges, in corners, and along edges. Then immediately follow with your foam roller on the flat surfaces, rolling in light, even strokes.
The key is working in sections and maintaining a “wet edge.” Don’t let one area start drying before you roll adjacent areas, or you’ll see lap marks in your final finish. Work methodically – do all the brush work on one door, then immediately roll it before moving to the next door.
Apply thin coats rather than trying to get full coverage in one pass. Two or three thin coats will look infinitely better than one thick coat, and they’ll cure harder too. Between coats, lightly sand with 320-grit paper to smooth any imperfections, then wipe clean with a tack cloth.
Common Mistakes That Ruin Your Paint Job

I’ve seen so many vanity painting projects that started with high hopes but ended in frustration. The biggest mistake? Skipping the cleaning step or not cleaning thoroughly enough. Paint will not stick to grease, and bathroom vanities are grease magnets.
Another common error is not removing hardware before painting. Those little drops of paint on hinges and handles immediately scream “DIY job.” Take the extra time to remove everything – your future self will thank you when you’re not scraping paint off hardware with a razor blade.
And please, please don’t rush the drying time between coats. I get it – you want your bathroom renovation finished yesterday. But paint that hasn’t cured properly will remain soft and prone to damage. Follow the manufacturer’s recommendations, even if it means waiting another day.
Dealing with Different Vanity Materials

Not all vanities are created equal, and your approach needs to adjust accordingly. Solid wood vanities are the easiest to paint – they accept primer beautifully and give you a rock-solid surface to work with. Just make sure to sand any existing finish lightly for proper adhesion.
Laminate vanities require a bit more finesse. You absolutely must use a bonding primer designed for slick surfaces, or your paint will peel off in sheets within months. Clean with degreaser, sand lightly with fine grit paper, and apply your bonding primer in thin, even coats.
Thermofoil vanities (those with the vinyl covering) are trickier. If the thermofoil is peeling, you’re better off removing it completely and treating the surface as bare MDF. Otherwise, clean thoroughly, sand any glossy areas, and use that bonding primer religiously.
Color Selection and Finish Options

Choosing the right color can make or break your vanity makeover. White remains the most popular choice, and for good reason – it brightens the space, works with any decor style, and makes your bathroom feel larger and cleaner. But don’t feel limited to basic white.
Soft grays have become incredibly popular and work beautifully in both modern and traditional bathrooms. Navy blue creates a stunning focal point and pairs beautifully with brass hardware. Even bold colors like sage green or charcoal can work if they complement your overall bathroom design.
Consider your lighting when selecting colors. Bathrooms with limited natural light benefit from lighter colors that reflect available light. If you have great natural light, you can go bolder with deeper colors that create drama and sophistication.
Hardware: The Finishing Touch That Makes All the Difference

New hardware is like jewelry for your freshly painted vanity – it can elevate a good paint job to spectacular. This is your chance to completely change the style and feel of your bathroom without major renovation.
Brushed gold and brass have overtaken chrome as the most popular finishes, and they pair beautifully with both white and colored vanities. Black hardware creates a bold, modern look that works especially well with white or gray paint. If you prefer classic looks, polished chrome or brushed nickel remain timeless choices.
Don’t be afraid to change the style completely. Those old colonial-style handles can be swapped for sleek modern pulls, or vice versa. Just make sure the new hardware covers any existing holes, or be prepared to fill and sand old holes before painting.
Protecting Your Investment: Maintenance and Care

Your beautifully painted vanity deserves proper care to maintain that professional finish for years to come. The good news is that high-quality cabinet paint, properly applied, creates a durable surface that’s actually quite easy to maintain.
Clean regularly with mild soap and water, avoiding harsh chemicals or abrasive cleaners that can damage the finish. Immediately wipe up any spills, especially acidic products like hair dye or strong cleaning products that can etch the paint surface.
Consider adding soft-close hinges if your vanity doesn’t have them – the constant slamming of cabinet doors will eventually chip paint around the edges. A small investment in quality hardware pays dividends in protecting your paint job.
Troubleshooting Common Paint Problems

Even with perfect preparation, sometimes things don’t go according to plan. Paint runs and drips happen to everyone – catch them while the paint is still wet and smooth them out with your brush. If you miss them and they dry, sand them smooth with fine-grit paper and recoat.
Brush marks in your final finish usually mean your paint was too thick or you didn’t maintain a wet edge while painting. The solution is light sanding and another thin coat, paying careful attention to your technique this time.
If your paint is chipping or peeling shortly after application, you likely have an adhesion problem. This usually means inadequate cleaning or the wrong primer for your surface. Unfortunately, the only real fix is starting over with proper preparation.
When to Call in Professional Help

While painting a bathroom vanity is definitely a DIY-friendly project, there are times when calling in professionals makes sense. If your vanity has intricate details, raised panels, or decorative molding, achieving a smooth finish requires skills that take years to develop.
Large master bathroom vanities with multiple drawers and doors can also be overwhelming for a first-time painter. The sheer amount of surface area and number of pieces to coordinate can turn a weekend project into a month-long ordeal.
If you’re dealing with lead paint (common in homes built before 1978), please hire certified professionals who can handle the removal safely. The health risks simply aren’t worth the savings, especially in a space where children might be exposed.
Budget Breakdown: What This Project Actually Costs

Let’s talk numbers, because knowing what to expect helps you plan properly. For a standard single-sink vanity, expect to spend $60-100 on supplies if you already have basic tools. High-quality primer runs $15-20 per quart, cabinet paint $20-35 per quart, and you’ll need brushes, rollers, and sandpaper.
Compare that to vanity replacement costs – even a basic new vanity starts around $200, plus installation if you’re not doing it yourself. Mid-range vanities easily hit $800-1200, and high-end custom pieces can cost several thousand dollars.
Factor in your time investment too. Plan on a long weekend for a standard vanity – one day for prep and priming, another for painting, and a third for final assembly and touch-ups. Rushing this project rarely ends well.
The Environmental and Personal Benefits
Beyond the obvious cost savings, painting your existing vanity instead of replacing it has some feel-good benefits worth mentioning. You’re keeping a perfectly functional piece of furniture out of the landfill, which matters more than you might think.
There’s also something deeply satisfying about transforming something tired and dated into a piece you absolutely love. Every time you walk into your bathroom, you’ll feel that little surge of pride knowing you created that beautiful finish with your own hands.
And let’s be honest – when guests compliment your gorgeous vanity, there’s nothing quite like casually mentioning “Oh, I painted that myself.” The combination of saved money, environmental responsibility, and personal accomplishment? That’s pretty hard to beat.
Your Next Steps to Vanity Painting Success
Ready to transform your bathroom with a freshly painted vanity? Start by gathering your supplies and setting aside enough time to do the job properly. Remember, this isn’t a race – taking your time with each step will give you results you’ll love for years to come.

Consider starting with a less visible cabinet door first, like one on the bottom corner, to practice your technique before tackling the most prominent surfaces. And don’t forget to take before photos – you’ll want to document this amazing transformation.
Whether you’re planning a complete bathroom makeover or just want to refresh your space, a professionally painted vanity creates an incredible impact for minimal investment. Your Pinterest-worthy bathroom is just a few coats of paint away.
Sanjai creates easy, affordable home decor ideas that anyone can try. Through simple tips and curated finds, he helps you style rooms you’ll love coming home to.