There’s something magical about watching a room completely transform with new flooring. One minute you’re staring at tired, outdated floors, and the next, you’re walking on gorgeous planks that look like they cost a fortune. If you’ve been dreaming of upgrading your floors but dreading the installation process, vinyl plank flooring might just be your answer.
I remember the first time I tackled a vinyl flooring installation project. The stack of planks seemed intimidating, but once I got started, I couldn’t believe how satisfying it was to see each row come together. The best part? You don’t need years of experience or a truck full of specialized tools to get professional-looking results.
Modern floating vinyl planks have revolutionized the DIY flooring world. These innovative planks click together like a puzzle, creating a beautiful, durable surface that can handle whatever life throws at it. Whether you’re updating your living room or giving your bedroom a fresh look, vinyl planks offer the perfect combination of style and practicality.
Why Vinyl Plank Flooring is Perfect for DIYers

Let’s be honest – not everyone has the budget for hardwood installation or the patience for tile work. Vinyl plank flooring bridges that gap beautifully, offering the look you want with the installation simplicity you need.
The floating installation method means you’re not dealing with adhesives, nails, or permanent attachments to your subfloor. Each plank connects to its neighbors, creating a unified surface that “floats” over your existing floor. This approach not only makes installation easier but also means you can potentially install over existing flooring in many cases.
What really sold me on vinyl planks was their forgiving nature. Made a measuring mistake? No problem – planks can be easily disconnected and repositioned. Need to work around an odd corner or obstacle? Vinyl cuts cleanly with standard tools, making custom fits much more manageable than other flooring options.
Essential Tools and Materials You’ll Need

Before diving into your DIY flooring project, gathering the right tools makes all the difference between a smooth installation and a frustrating experience. The good news is that vinyl plank installation doesn’t require expensive specialty equipment.
Your essential tool list includes a measuring tape, pencil, utility knife with sharp blades, rubber mallet, spacers, pull bar, and safety glasses. A miter saw or circular saw will make crosscuts cleaner, though a utility knife works for most cuts. Don’t forget knee pads – your knees will thank you after a day of floor work.
For materials, calculate your square footage and add 10% for waste and future repairs. You’ll also need underlayment if it’s not already attached to your planks, transition strips for doorways, and quarter-round or base molding to finish the edges. Some installations might require a moisture barrier, especially over concrete subfloors.
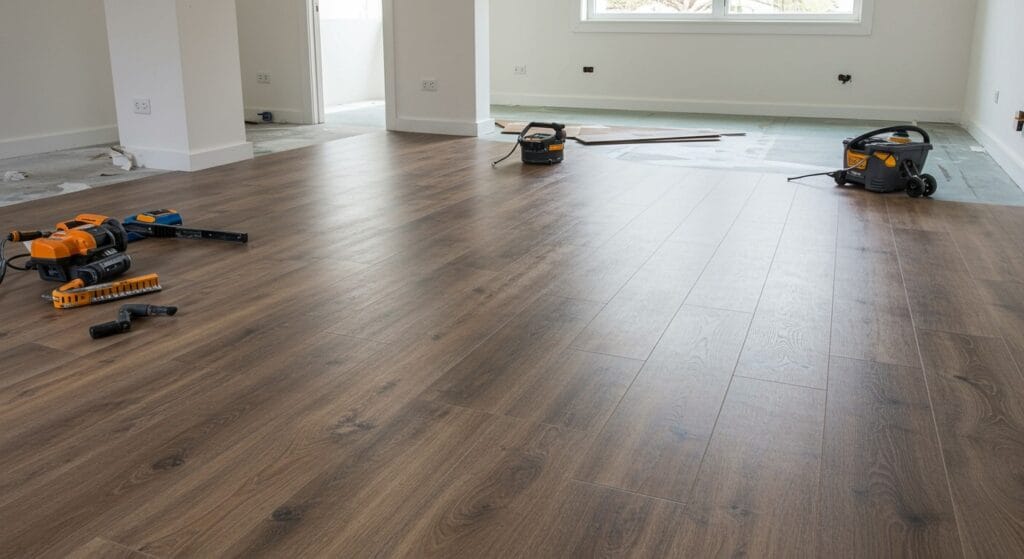
Preparing Your Subfloor for Success

The foundation of any great flooring project starts beneath the surface. Your subfloor needs to be clean, level, and dry before the first plank goes down. This step might not be glamorous, but it’s absolutely crucial for long-term success.
Start by thoroughly cleaning your existing floor, removing all debris, dust, and any loose material. Check for squeaks or loose boards and secure them with screws. Any nails sticking up need to be hammered down or removed entirely.
Level is critical – vinyl planks can telegraph imperfections from below, creating visible bumps or gaps. Use a long straight edge to check for high and low spots. Sand down high areas and fill low spots with floor leveling compound. Most manufacturers specify that the floor should be level within 3/16 inch over a 10-foot span, so don’t skip this step.
Planning Your Layout Like a Pro

Here’s where strategy meets creativity. The way you plan your layout can make the difference between a professional-looking installation and one that screams “DIY gone wrong.” Take time to really think through your approach before making the first cut.
Start by finding the longest, most prominent wall in your room – this often becomes your reference point. However, don’t automatically assume you’ll start there. Sometimes starting from the center of the room or the most visible area creates better results, especially in irregularly shaped spaces.
Measure your room width and divide by your plank width to see how your last row will end up. If you’re left with a sliver less than 2 inches wide, adjust your starting point to create more balanced borders. The goal is to avoid tiny pieces that look awkward and are difficult to install securely. This kind of planning separates amateur installations from professional-looking results.
Step-by-Step Installation Process

Now comes the exciting part – actually laying your new floor! Start in your planned corner, leaving a 1/4-inch expansion gap along all walls. This gap allows the floor to expand and contract with temperature changes without buckling.
Install your first row completely, ensuring each plank clicks securely to its neighbor. The secret to straight rows is getting this first row perfectly positioned – everything else follows from here. Use spacers along the wall to maintain your expansion gap consistently.
For subsequent rows, stagger the joints by at least 6 inches for visual appeal and structural stability. Most manufacturers recommend varying joint placement to create a natural, random appearance. The click-lock system makes connecting planks satisfying – you’ll hear and feel when they’re properly secured.
Work row by row, checking occasionally that you’re staying straight and parallel to your starting wall. Small adjustments early prevent big problems later. Remember, the last plank in each row often needs to be cut to fit, so measure carefully and cut with the finished side up if using a circular saw.
Cutting and Fitting Around Obstacles

Real rooms aren’t perfect rectangles, and that’s where your problem-solving skills shine. Cutting vinyl planks to fit around obstacles like door frames, heating vents, or irregular walls requires patience but isn’t as difficult as it might seem.
For straight cuts, score the vinyl deeply with a utility knife and snap along the line. Multiple light passes work better than trying to cut through in one stroke. For more complex shapes, create a paper template first – trace around the obstacle, transfer the pattern to your plank, and cut carefully.
Door jambs and casings require undercutting – trimming the bottom so your flooring slides underneath for a clean, professional appearance. Use a handsaw or oscillating tool to cut just enough clearance for your plank plus any underlayment thickness.
The key to professional-looking cuts is taking your time and measuring twice. I’ve learned that it’s better to cut slightly oversize and trim to perfect fit than to cut too small and need a new plank. Trust me on this one – patience saves money and frustration.
Finishing Touches That Make the Difference

Installation is only part of the story – the finishing details separate amateur work from installations that look professionally done. These final steps might seem minor, but they have a major impact on your overall results.
Quarter-round or base molding covers your expansion gaps and creates clean, finished edges. Choose molding that complements both your new flooring and existing trim. Paint or stain it to match your room’s aesthetic before installation for the cleanest look.
Transition strips handle the junction between your new vinyl flooring and adjacent rooms or different flooring types. These strips come in various profiles – reducers for height differences, T-strips for same-height transitions, and end caps for doorways where flooring stops.
Don’t forget about your home improvement project’s impact on other rooms. Sometimes new flooring reveals how dated adjacent spaces look, creating opportunities for additional updates. That’s the beauty of DIY projects – success in one area often inspires improvements elsewhere.
Maintenance Tips for Long-Lasting Beauty

Your beautiful new vinyl plank flooring deserves care that keeps it looking amazing for years to come. The good news is that vinyl flooring is remarkably low-maintenance compared to other flooring options, but a few simple habits make a big difference.
Regular sweeping or vacuuming removes the grit and debris that can dull your floor’s surface over time. For deeper cleaning, use a damp mop with manufacturer-approved cleaners. Avoid harsh chemicals, excessive water, or steam cleaners that might damage the planks or seams.
Protect your investment with furniture pads under chair legs and table bases. Heavy furniture can indent vinyl, and dragging items across the surface creates scratches that are difficult to repair. Area rugs in high-traffic zones add both protection and style, especially in entryways or kitchen areas.
Common Mistakes and How to Avoid Them

Even experienced DIYers can stumble on vinyl flooring installations, but knowing the common pitfalls helps you avoid frustrating setbacks. The most frequent mistake I see is rushing the subfloor preparation – trust me, every minute spent getting the foundation right pays dividends later.
Forgetting expansion gaps ranks high on the mistake list too. I know it seems counterintuitive to leave gaps when you want a seamless look, but vinyl needs room to move. Skipping this step can cause buckling, especially in larger rooms or areas with temperature fluctuations.
Another common error is poor joint staggering – either too little variation or too much pattern. Random doesn’t mean arbitrary – aim for a natural-looking distribution of joints while maintaining structural requirements. Also, don’t force planks together if they’re not clicking easily. Something’s wrong, and forcing it usually makes problems worse.
Planning your final row width from the beginning saves headaches later. Nothing looks worse than a skinny sliver of flooring along your most visible wall because you didn’t calculate the layout properly at the start.
Troubleshooting Installation Challenges

Even with careful planning, challenges pop up during installation. The key is recognizing problems early and addressing them before they multiply. Gaps between planks usually indicate subfloor issues, temperature problems, or planks that aren’t fully engaged.
If planks aren’t staying together, check that you’re angling them correctly during installation and that nothing is preventing full engagement. Sometimes debris in the groove or a slightly warped plank causes connection issues. Clean the groove thoroughly and inspect each plank before installation.
Squeaky floors after installation often point to subfloor movement or insufficient fastening of the underlying structure. While some minor settling sounds are normal initially, persistent squeaking needs attention. Address subfloor issues now rather than living with annoying sounds.
Height transitions between rooms can be tricky, especially in older homes with uneven floors. Sometimes creative solutions like gradual transitions or custom transition strips work better than standard hardware store options.
Cost-Effective Tips for Your Project

Smart shopping and strategic planning can significantly reduce your vinyl flooring installation costs without compromising quality. Buying during sales seasons – typically spring and fall – often yields better prices on quality products.
Calculate your needs accurately to avoid both shortages that require emergency purchases at higher prices and excess material that ties up your budget. That said, having a few extra planks for future repairs is wise, especially since dye lots can vary between production runs.
Consider doing prep work yourself even if you’re hiring installation help. Removing old flooring, cleaning, and basic subfloor prep are labor-intensive tasks you can handle, reserving professional help for the technical aspects if needed.
Shopping at different times can reveal significant price variations. Home improvement stores often have different sale cycles, and end-of-season clearances can offer premium products at budget-friendly prices. Just ensure you’re buying enough to complete your project from the same production run.
Inspiring Room Transformations

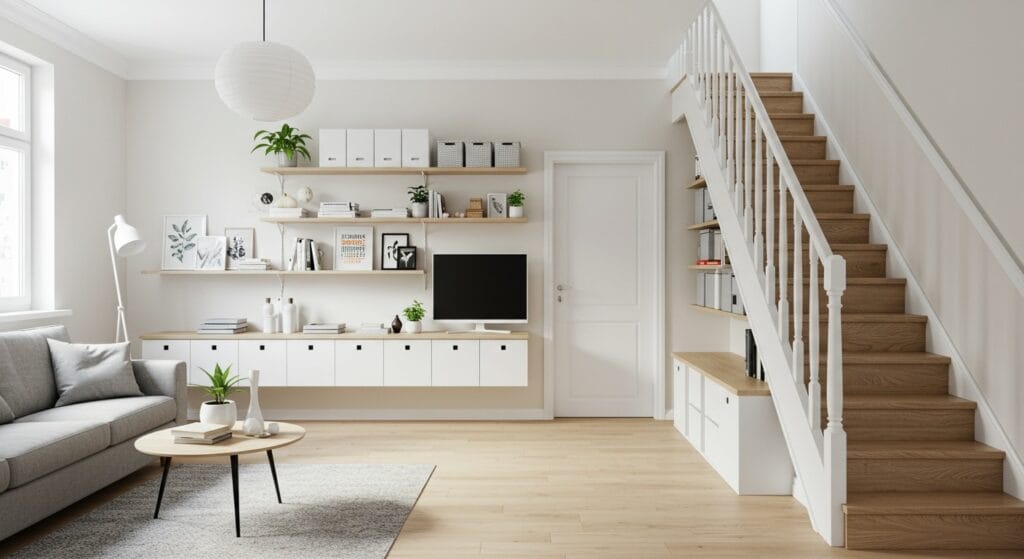
The real magic happens when you step back and see your completed project. Vinyl plank flooring transforms spaces in ways that go beyond just new floors – it changes how the entire room feels and functions.
Small living rooms benefit tremendously from the visual continuity that vinyl planks provide. Light-colored planks can make cramped spaces feel larger, while rich, dark tones add sophistication and warmth. The key is choosing colors that complement your existing decor while supporting your design goals.
Bedrooms become more cohesive with beautiful flooring that ties together furniture and wall colors. The comfort underfoot makes bare feet happy, while the durability means you don’t need to worry about furniture scratches or normal wear and tear.
Open-concept spaces really shine with vinyl plank installation. The continuous flooring flow between kitchen and living areas creates visual unity that makes the entire space feel larger and more intentional. Plus, the water resistance makes vinyl perfect for kitchen areas where spills happen.

Your vinyl plank flooring installation journey doesn’t have to be overwhelming. With proper planning, the right tools, and patience with the process, you’ll create beautiful, durable floors that look professionally installed. The satisfaction of completing this project yourself – not to mention the money saved – makes every step worthwhile.
Remember, perfection isn’t the goal – improvement is. Your floors will look amazing, function beautifully, and give you years of enjoyment. Most importantly, you’ll have the confidence to tackle other home improvement projects knowing you can achieve professional-looking results with careful planning and attention to detail.
The best part about vinyl plank flooring? It’s forgiving enough for beginners but sophisticated enough to satisfy experienced DIYers. Whether this is your first flooring project or your tenth, the principles remain the same – prepare well, work carefully, and enjoy the transformation process.
Sanjai creates easy, affordable home decor ideas that anyone can try. Through simple tips and curated finds, he helps you style rooms you’ll love coming home to.