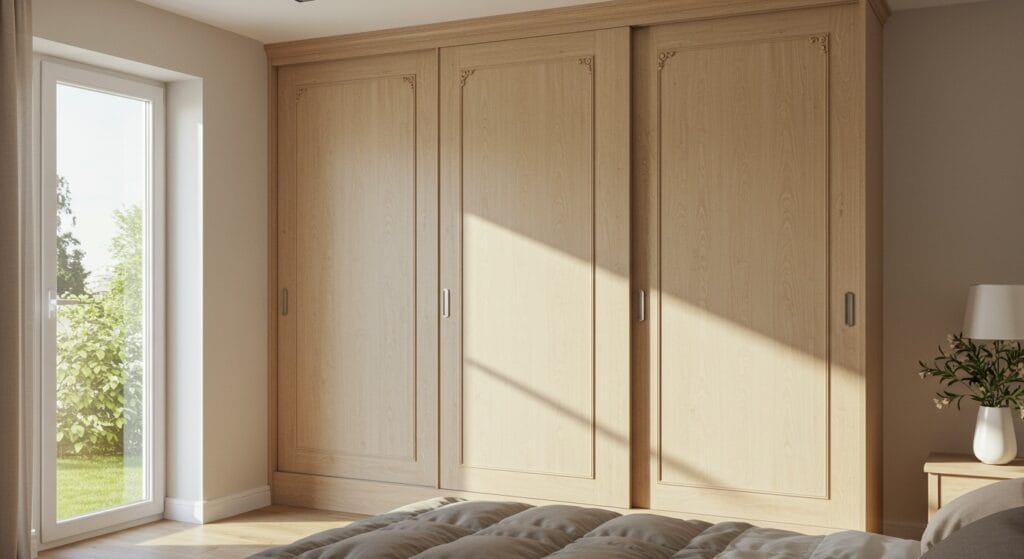
Your closet doors see you every single day, yet they’re probably the most overlooked feature in your bedroom. Those builder-grade sliding panels might be functional, but they’re doing absolutely nothing for your room’s style quotient. What if I told you that a simple closet door transformation could completely change how your entire bedroom feels?
I’ve been staring at my own bland closet doors for months, and honestly? They were bringing down the whole vibe of my carefully curated space. After seeing countless Pinterest-worthy bedroom makeovers, I finally decided to tackle this project myself. The best part is you don’t need to be a DIY expert or break the bank to achieve stunning results.
This small closet sliding door makeover tutorial will walk you through every single step, from planning to the final reveal. Whether you’re dealing with outdated mirrored panels, plain white doors, or those wood-grain nightmares from the 80s, we’ve got solutions that work.
Planning Your Closet Door Transformation
Before you grab your paintbrush or start shopping for materials, take a step back and really look at your space. The key to a successful DIY door makeover isn’t just about making things prettier – it’s about creating cohesion with your existing decor.

Start by measuring your doors precisely. Most standard sliding closet doors are either 24, 30, or 32 inches wide, but don’t assume anything. Write down the exact dimensions because this will determine how much material you need and what design elements will work proportionally.
Consider your room’s existing style too. A modern minimalist bedroom decor calls for clean lines and subtle textures, while a more traditional space might benefit from classic panel molding. The goal isn’t to create doors that scream for attention, but rather ones that feel like they were always meant to be there.
Think about functionality as well. Will adding thickness with molding or panels interfere with how smoothly your doors slide? Test this by temporarily taping some cardboard strips where you plan to add elements.
Budget-Friendly Materials You’ll Actually Need
Here’s where most tutorials lose me – they assume you have a fully stocked workshop and unlimited budget. Let’s be realistic about what you actually need for this closet door transformation without breaking the bank.

For basic panel-style doors, you’ll need thin wood strips or MDF molding (around $3-4 per 8-foot piece), wood glue, a brad nailer or finishing nails, and paint or stain. If your doors are currently painted, you might need primer too. Don’t forget painter’s tape and drop cloths – trust me on this one.
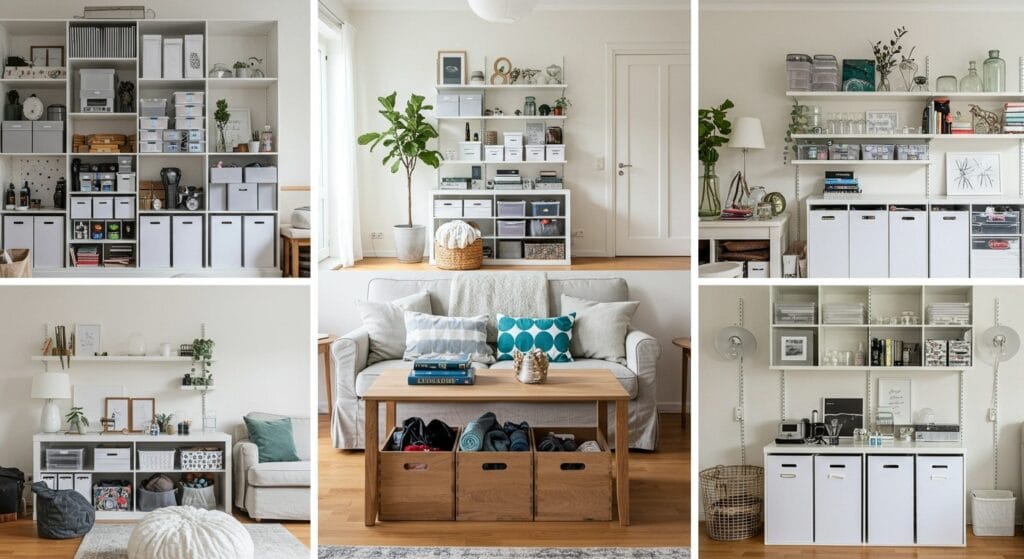
The hardware section at your local home improvement store is goldmine for this project. Those decorative corner brackets that cost less than $5 can add serious visual interest to plain doors. Storage and organization ideas often include similar hardware tricks that work beautifully on closet doors too.
One money-saving tip? Check the clearance paint section first. You’d be surprised how many perfectly good colors end up there just because someone changed their mind. Since you’re likely only painting a small area, those $5 clearance gallons could be perfect for your project.
Step 1: Removing and Preparing Your Doors
This might seem obvious, but properly removing sliding doors requires a bit of finesse. Most people try to lift them straight up and wonder why they’re stuck – there’s usually a specific sequence to follow.

First, slide one door completely to one side. Lift it up slightly (about a quarter inch) while simultaneously pulling the bottom toward you. The door should pop out of the bottom track first, then you can lower it and pull it completely free from the top track. Repeat with the second door.
Find a safe place to work on your doors – preferably somewhere with good ventilation if you’ll be sanding or painting. I learned this the hard way when I tried to paint doors in my bedroom and ended up with paint fumes lingering for days. A garage, covered patio, or basement works perfectly.
Clean your doors thoroughly before starting any work. Years of dust and fingerprints need to come off before you can properly assess what you’re working with. Sometimes a good cleaning reveals that the doors are in better shape than you initially thought.
Step 2: Creating Panel Details That Look Professional
This is where your budget closet upgrade really starts to shine. Adding panel details instantly elevates cheap doors and makes them look like expensive built-ins.

Measure and mark where you want your panels to sit. A good rule of thumb is to leave at least 4-6 inches from each edge and create rectangles that are roughly proportional to the door size. For standard doors, two vertical rectangles usually look more balanced than one large square.
Cut your molding strips to size – this is where having a miter saw helps, but a miter box and hand saw work just fine for this project. The key is getting clean, precise cuts that fit together perfectly at the corners. Take your time here because sloppy cuts will be visible in your final result.
When attaching the molding, use wood glue first, then secure with small finishing nails. Pre-drill tiny pilot holes to prevent the molding from splitting – nothing ruins a project faster than a piece of trim that cracks right at the corner.
Step 3: Sanding and Priming for a Flawless Finish
Even if your doors look smooth, they probably need some sanding before painting. This step separates DIY projects that look homemade from those that look professionally done.

Start with 120-grit sandpaper to remove any imperfections, then move to 220-grit for smoothness. Pay special attention to areas where you’ve added molding – those joints need to be perfectly smooth. Fill any nail holes with wood filler and let it dry completely before sanding again.
Primer isn’t optional here, especially if you’re going from a dark color to a light one, or if your doors have any kind of glossy finish. A high-quality bonding primer will ensure your paint adheres properly and doesn’t chip off the first time someone slides the door too enthusiastically.
Don’t skip the tack cloth step after sanding and before priming. All that sanding dust needs to come off completely, and a slightly damp tack cloth picks up particles that a regular rag misses.
Step 4: Paint Application Techniques That Actually Work
Here’s where most DIY projects go wrong – the painting technique. You can have perfect prep work, but if you apply paint poorly, your doors will look amateur no matter what.

Use a high-quality angled brush for the panel details and molding, then switch to a foam roller for the flat surfaces. Work in thin, even coats rather than trying to cover everything in one thick application. Two or three thin coats always look better than one thick, drippy coat.
Paint the recessed areas first, then work your way out to the flat surfaces. This prevents brush marks in the detailed areas and helps you maintain a wet edge as you work. Keep a damp rag handy to immediately wipe up any drips or mistakes.
Consider the lighting in your bedroom when choosing paint colors too. That gorgeous navy that looked perfect in the store might feel too dark if your room doesn’t get much natural light. Bedroom color combinations can provide inspiration for colors that work well in different lighting conditions.
Step 5: Hardware Upgrades That Make a Difference
New handles or pulls can completely transform the look of your doors, but sliding door hardware is slightly different from regular cabinet hardware.

Most sliding doors use recessed pulls or surface-mounted handles. Recessed pulls sit flush with the door surface and don’t interfere with the sliding mechanism, while surface-mounted handles stick out slightly. Choose based on your door thickness and personal preference.
If your existing holes don’t match your new hardware, don’t panic. Fill the old holes with wood filler, sand smooth, and drill new ones. Use a template or careful measuring to ensure your new holes are perfectly aligned – crooked hardware is one of those things that’s immediately obvious and impossible to ignore.
The finish of your hardware should coordinate with other metals in your bedroom. If you have brushed nickel light fixtures and bedroom lighting ideas often suggest maintaining consistent finishes throughout the space for a cohesive look.
Step 6: Installation and Final Adjustments
Getting your newly transformed doors back into their tracks requires the reverse process of removal, but with extra care since you now have a fresh paint job to protect.

Wait at least 24 hours after your final coat of paint before attempting to reinstall the doors. Paint might feel dry to the touch, but it needs time to fully cure before handling. Place protective cardboard or cloth where the doors will rest while you work.
Insert the top of the door into the upper track first, then gently lower it until the bottom sits in the lower track. You might need to adjust the height slightly – most tracks have small adjustment screws that allow you to raise or lower individual doors for perfect alignment.
Test the sliding action several times to make sure everything moves smoothly. If you hear scraping or if the doors stick, check that your added molding isn’t interfering with the track system. Small adjustments now can prevent bigger problems later.
Styling Your Newly Transformed Space
Your beautiful new closet doors deserve to be part of a cohesively styled bedroom. This is where you can really let your personality shine through the details.

Consider how your new doors interact with other elements in the room. If you went with a bold color, balance it with neutral bedding and accessories. If you chose a subtle transformation, this might be the perfect opportunity to add some drama elsewhere in the room.
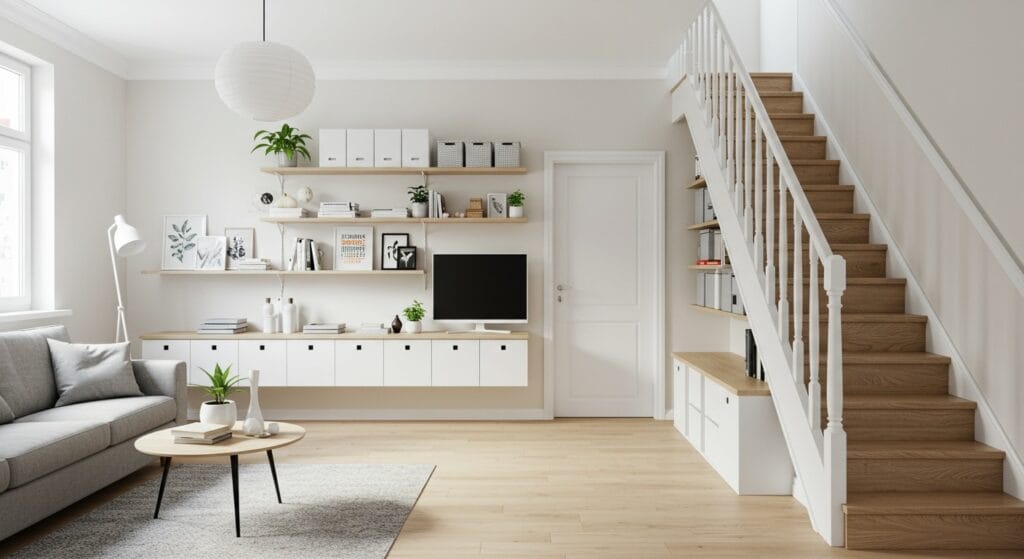
The area around your closet doors is prime real estate for bedroom decor ideas that complement your new focal point. A strategically placed plant, piece of artwork, or decorative mirror can create a vignette that makes the whole corner feel intentional and designed.
Don’t forget about lighting either. Your gorgeous new doors deserve to be seen in their best light, literally. LED strip lighting ideas for bedrooms include accent lighting that can highlight architectural details like your newly paneled doors.
Troubleshooting Common Issues
Even with careful planning, DIY projects rarely go exactly as expected. Here are the most common issues you might encounter and how to fix them without starting over.

Paint drips happen to everyone, even professionals. If you catch them while wet, carefully brush them out following the wood grain direction. If they’ve already dried, let them cure completely, then sand lightly with fine-grit paper and touch up with paint.
Gaps between molding pieces are usually the result of walls or doors that aren’t perfectly square (which is most of them). Use paintable caulk to fill small gaps, then paint over once dry. For larger gaps, you might need to re-cut one piece or add a small filler strip.
If your doors don’t slide as smoothly after your makeover, check that you haven’t accidentally painted over the tracks or added too much thickness to the door edges. Sometimes a light sanding on the edges is all you need to restore smooth operation.
Maintenance Tips for Long-Lasting Results
Your gorgeous new doors will stay looking fresh longer with just a little regular maintenance. The good news is that most of this is stuff you should be doing anyway.

Clean your doors regularly with a damp microfiber cloth and mild soap solution. Avoid harsh chemicals or abrasive cleaners that can damage the paint finish. Pay special attention to the handles and edges where fingerprints tend to accumulate.
Keep the tracks clean too. Vacuum out dust and debris monthly, and occasionally wipe them down with a damp cloth. Clean tracks mean smooth-sliding doors and less wear on your beautiful new finish.
Touch up any chips or scratches as soon as you notice them. Keep a small container of your paint color for quick fixes – it’s much easier to touch up a tiny chip than to repaint an entire panel later.
This small closet sliding door makeover tutorial proves that you don’t need a massive budget or professional skills to create stunning results. With some planning, patience, and the right techniques, those boring builder-grade doors can become a beautiful focal point that elevates your entire bedroom.
The transformation might take a weekend, but the impact lasts for years. Plus, there’s something incredibly satisfying about walking into your bedroom and admiring a feature you created with your own hands. Small bedroom storage solutions often focus on what’s inside the closet, but don’t underestimate the power of beautiful doors to make the whole room feel more expensive and thoughtfully designed.
Whether you went with classic white panels, a bold accent color, or something uniquely you, your new doors are proof that thoughtful DIY projects can deliver professional-looking results. The next time someone compliments your beautiful bedroom, you’ll have the satisfaction of saying “Thanks, I made those doors myself.”
Sanjai creates easy, affordable home decor ideas that anyone can try. Through simple tips and curated finds, he helps you style rooms you’ll love coming home to.